Repotting Orchids is an important task you want to learn because sooner or later you will find that your Orchid isn't looking so well or worse, has stopped blooming. As we mentioned in our introduction to our Orchid Care 101 Guide, caring for Orchids over the years can be a tricky and sometimes intimidating task but once you get to know the nuances of your Orchid, you'll find these tasks easier to complete.
One such task is the necessary evil of repotting Orchids when the time is right. Many articles that we have come across mention a loose guideline for repotting your Orchids every year or two, but the fact is that it really depends on the state of your Orchid. We never suggest to repot a plant just for the sake of repotting. Learn to analyze the signs of neglect in your plants and then go from there. In this posting, we will give you some things to look out for in deciding whether it's time to repot your Orchid or not.
First of all, why should you repot an Orchid?
The condition of your Orchid will vary primarily depending on 1) the Orchid's environment and 2) the Orchid's nutritional elements. Two factors that make up the Orchid growing environment is its surrounding climate and the potting medium in which the roots grow. You need to maintain a proper root zone for your Orchid because this is where all the magic happens (and actually where the magic happens for all your plants and flowers, hence the reason we always stress feeding organic nutrients into your plant root zones for continual optimal growth and plant health).
Your Orchid will not grow well if:
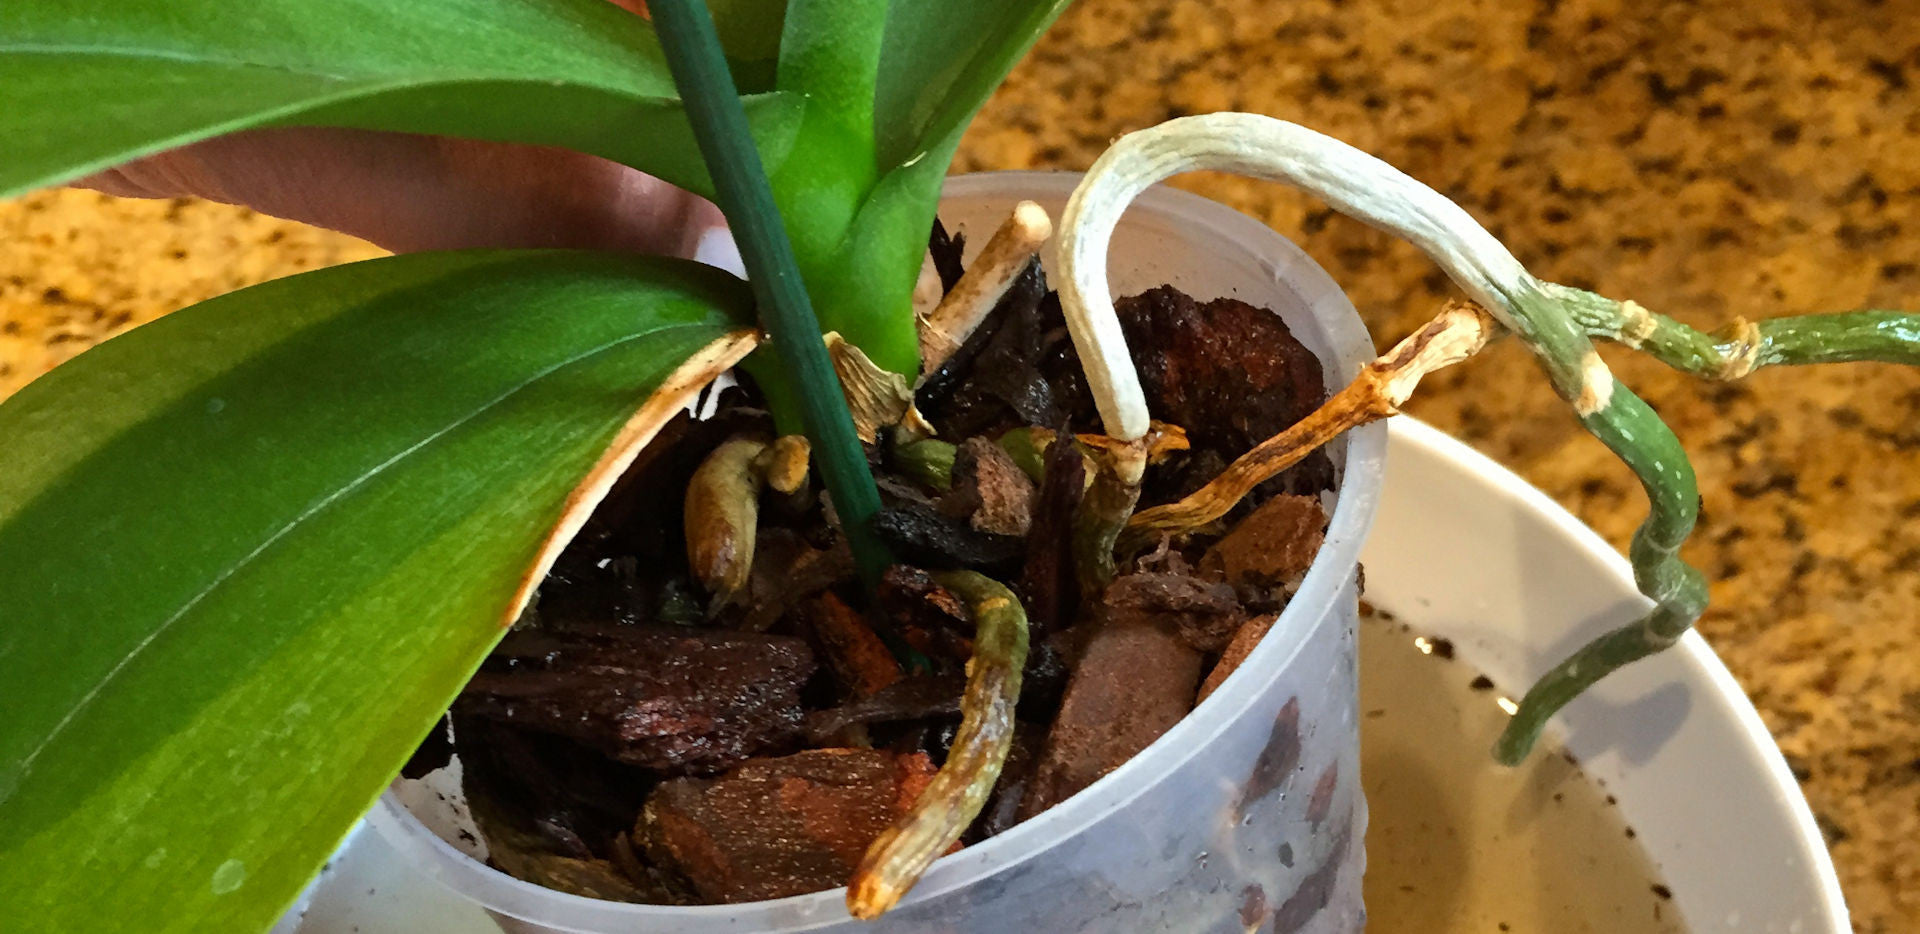
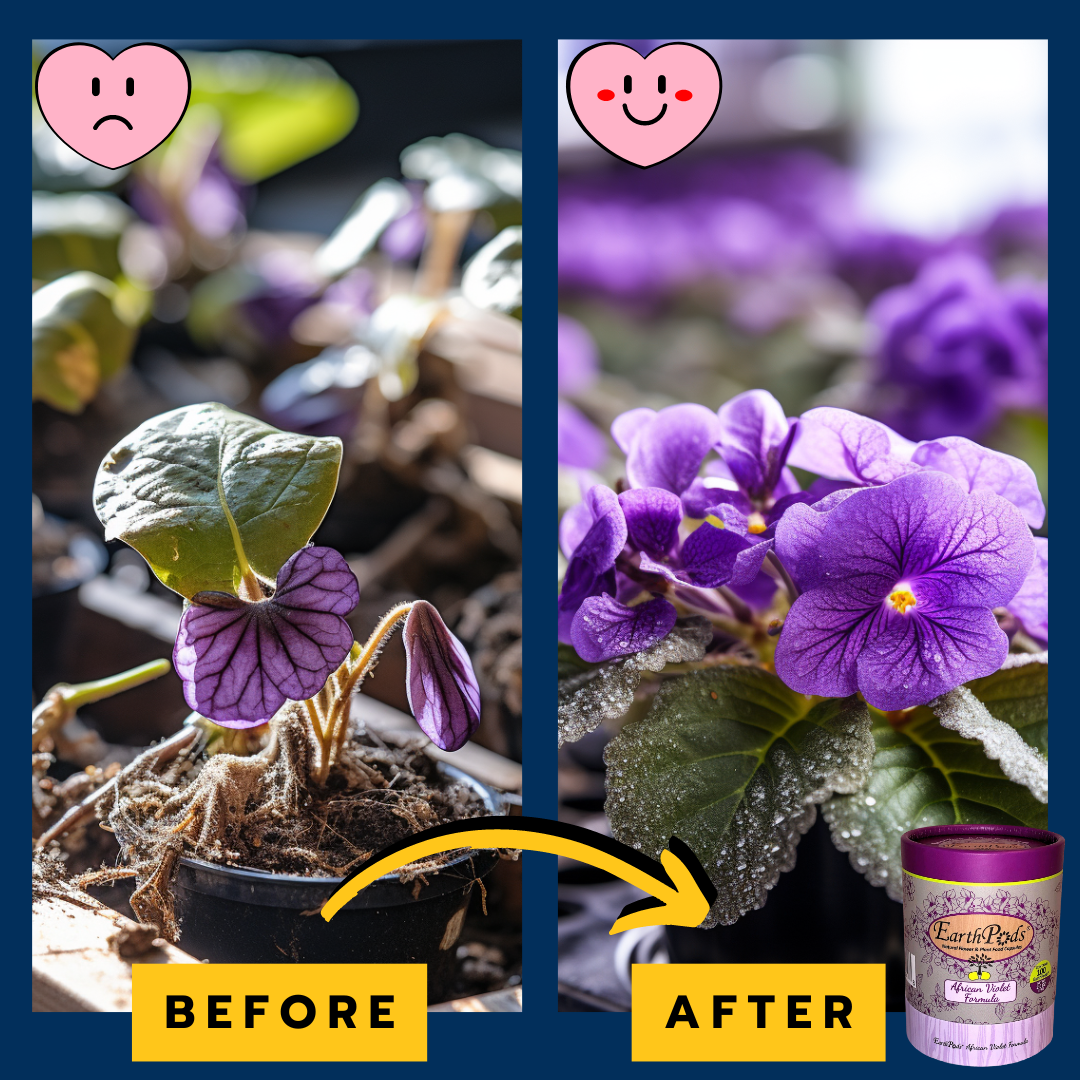
- Your Orchid roots are spiraling around in the bottom of the plastic Orchid container (in other words, it's root bound)
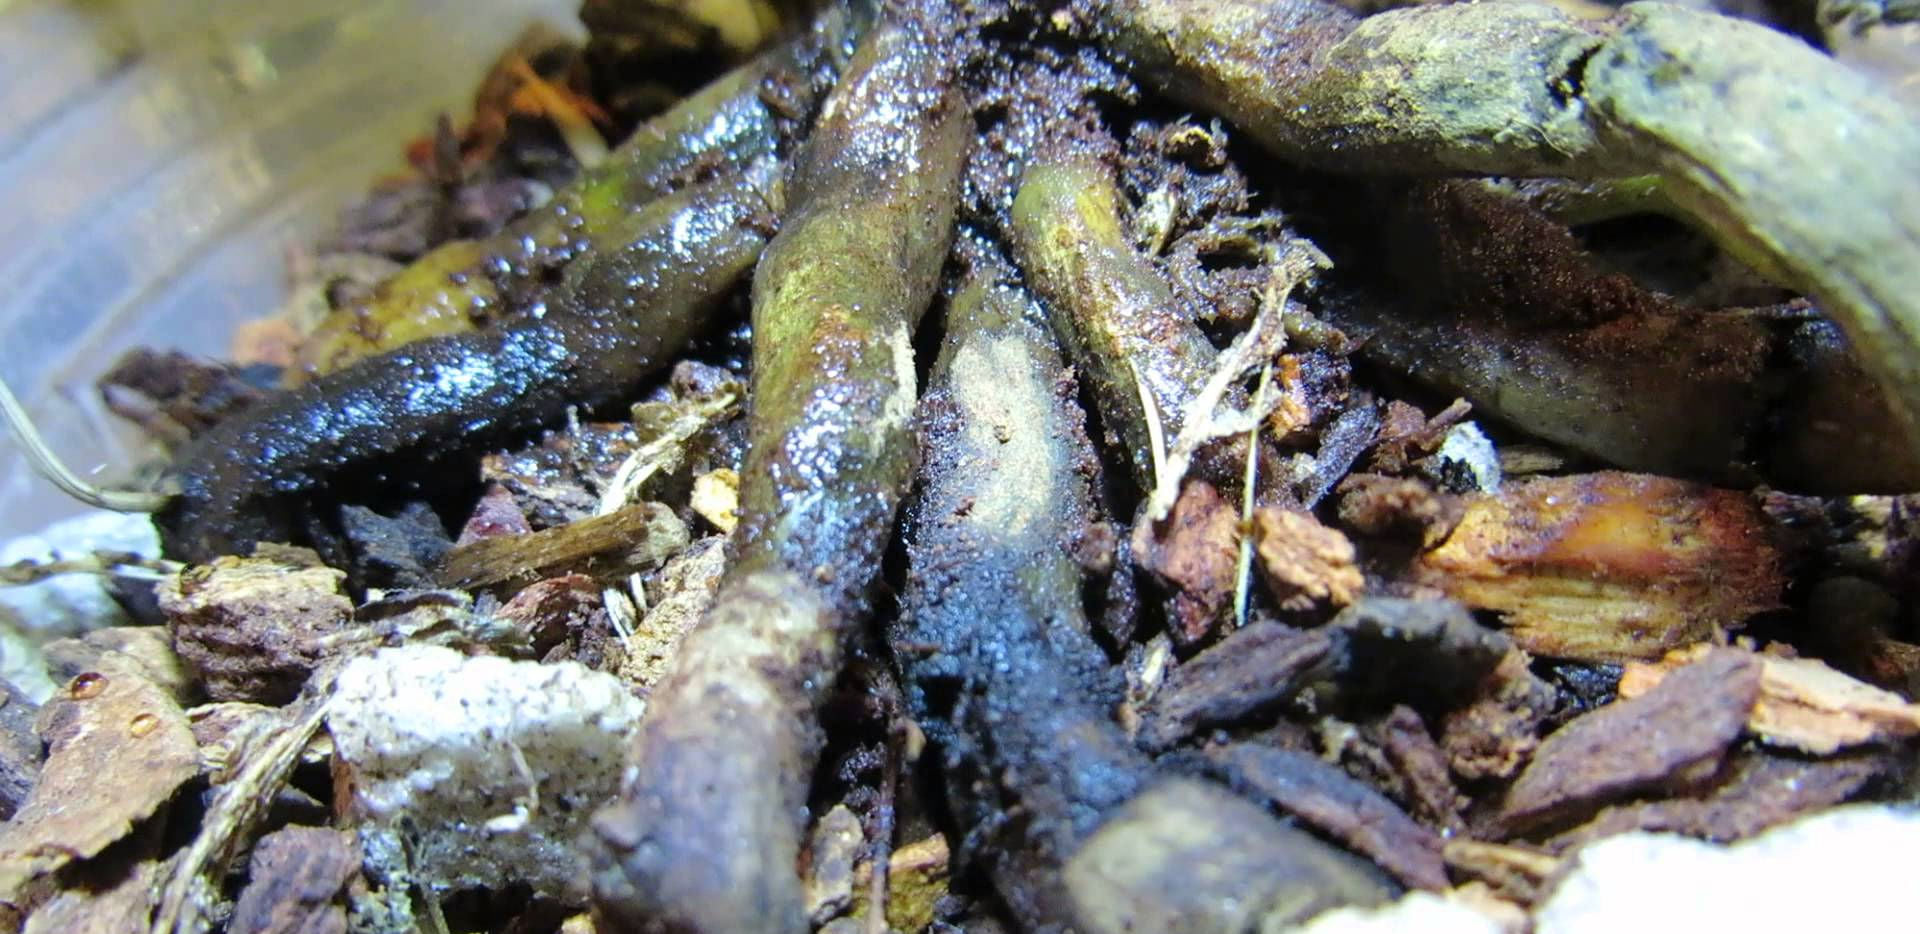
- Your Orchid's roots look brittle, old, or brownish/grey
- Your Orchid potting medium (whether it be bark, coconut coir, sphagnum moss etc.) has disintegrated, has not been re-mineralized with organic minerals & nutrients or is harboring harmful mold or fungal spores
- Your Orchid's potting medium is overly wet, has no aeration or smells bad (a typical sign of anaerobic microbes at work usually because the roots are packed in the pot, the wrong potting medium was used, or the Orchid was overwatered in a pot that doesn't have enough drainage)
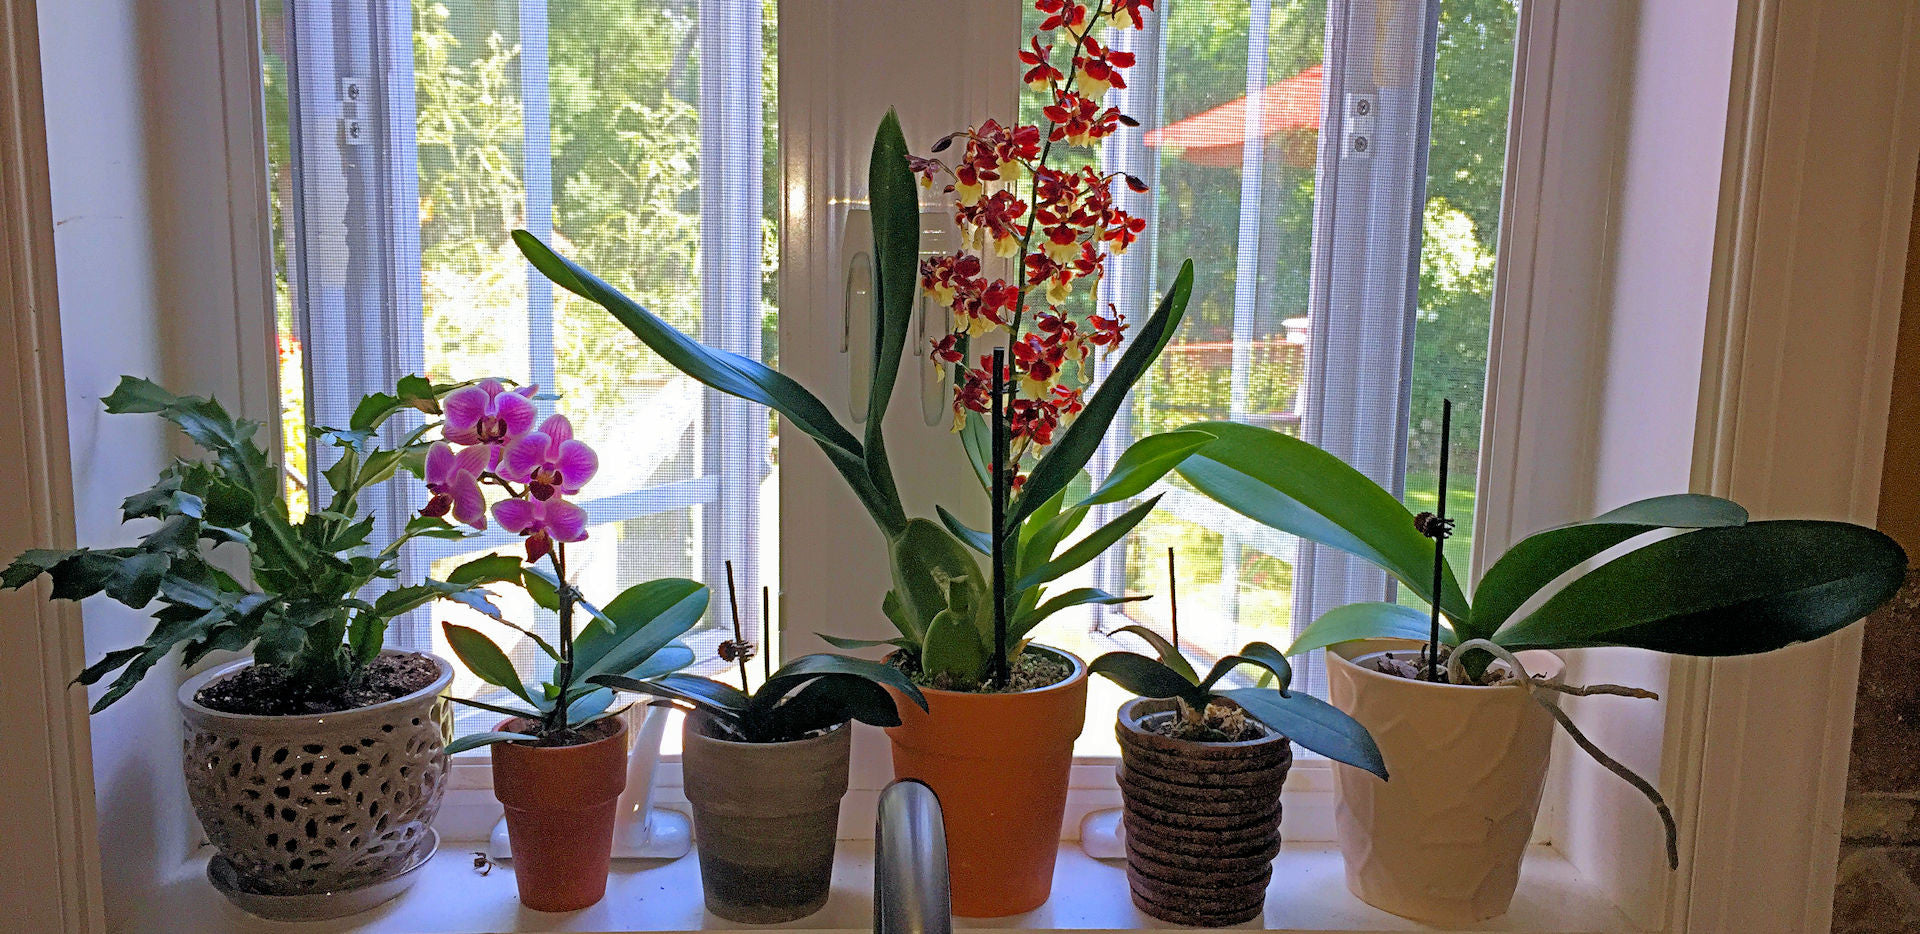
Making sure your Orchid is happy in its container with the right factors taken care of will help it to thrive so you can also be happy! :)
So, how do you repot an Orchid?
It's actually not as intimidating as it sounds. Just remember, try to repot your Orchid after it has already bloomed. Typically, flowers and plants build up a store of energy from sunlight, soil nutrients & water in advance of the blooming season so they can flower. After they are done blooming, flowers & plants will enter a resting period. It is during this time that you want to ideally perform tasks such as repotting and/or trimming back old leaves and flower petals. The same goes for timing the repotting of your Orchids.
- After your Orchid has bloomed, snip the spent flower stem right above the first node
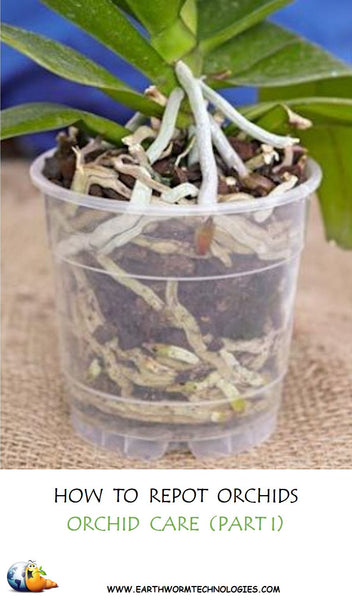
- Carefully take the plastic holding cup out of the ornamental container in which your Orchid pot may be sitting. Hold your Orchid by the base and carefully remove it from the plastic container
- Observe your Orchid's roots and look for any old, brittle roots that look out of place. You can snip those away with some pruning shears (make sure the shears are clean and sterile)
- Gently tease the healthy Orchid roots that are left apart with your fingers and spread them out (envision how spider legs jut out from the spider's body)
- Remove any old Orchid potting medium that might continue to cling to the roots of your Orchid. Some roots may have intertwined or grown into the slats of your Orchid container so just be careful (the name of the game is to cause as little shock to your Orchid roots as possible)
- Clean out the Orchid pot and sterilize it prior to repotting
- Now place the Orchid with its roots teased out (picture again, a spider with its legs spread out) and place it in the container so the roots are spread out and touch the bottom of the container. The base of the leaves should be positioned just below the top of the container
- Slowly & gently start adding your Orchid potting mix (we like small pieces of bark ourselves), placing the mix in between the Orchid roots all the way to the base.
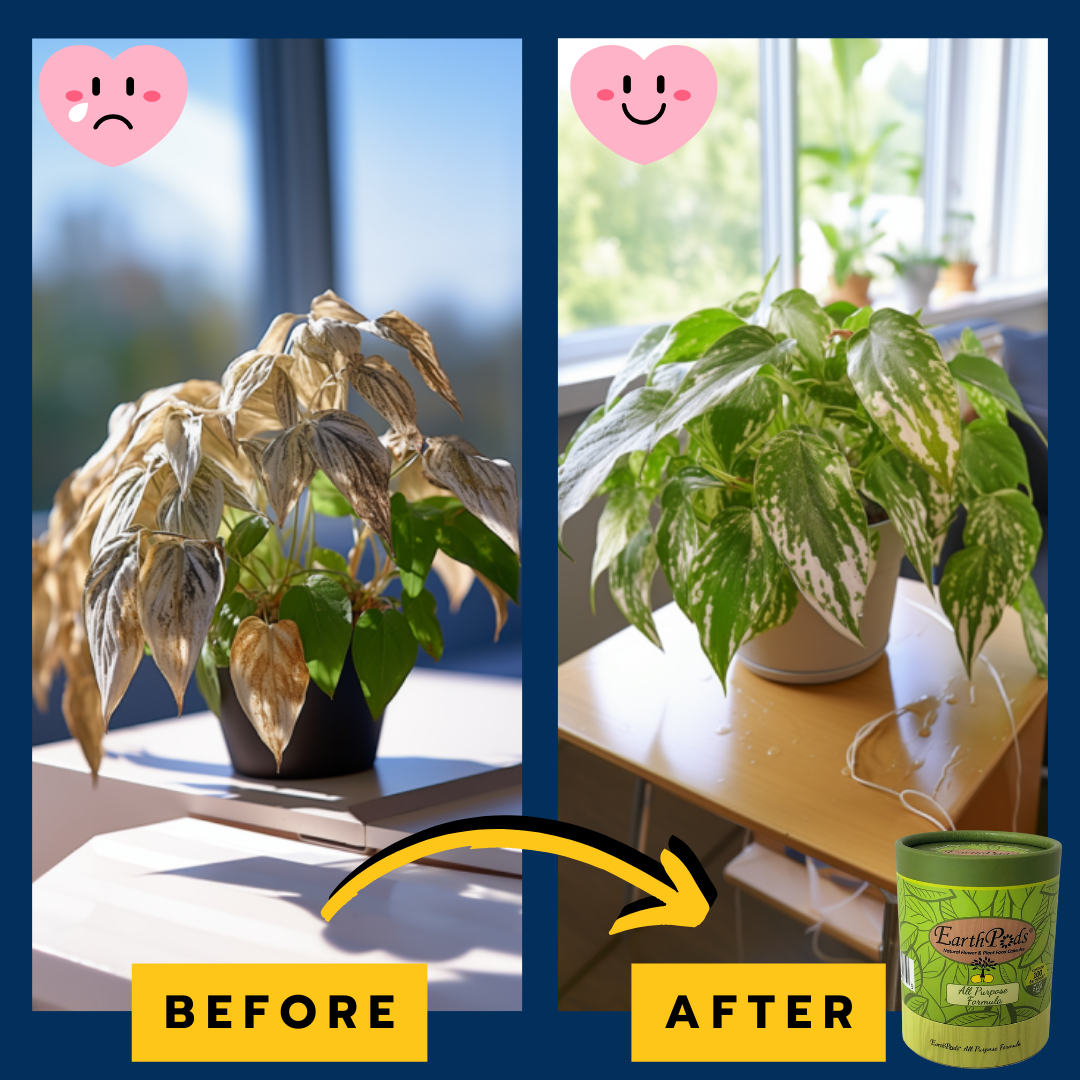
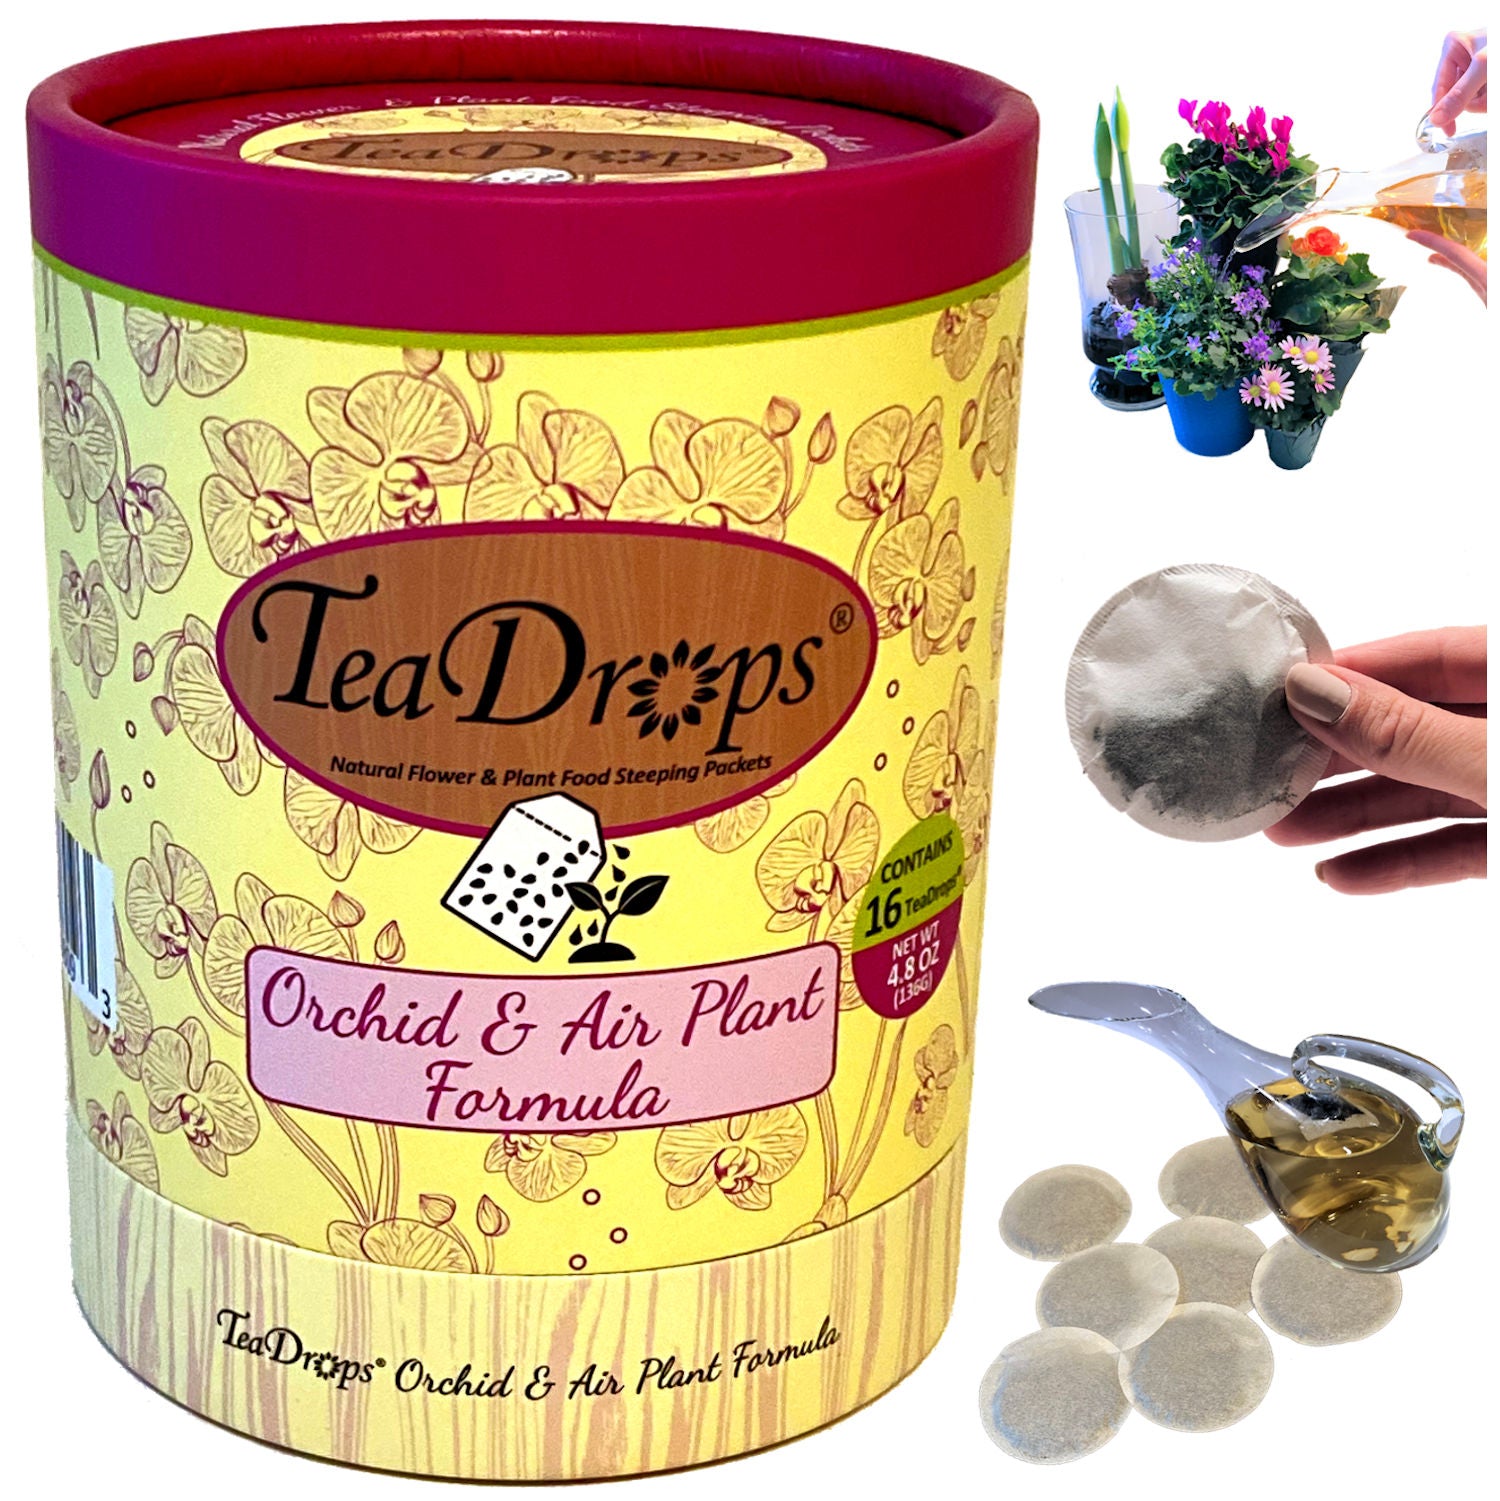
- Now is a great time to feed your Orchid in order to fortify it and give it the natural plant food nutrients it will need to re-anchor to the new potting medium, establish new growth and hopefully re-bloom!
- Repotting your Orchid is as easy as that! Not too bad right?
Like our articles? Get more straight to your inbox...
Sign up for our newsletter at the bottom of this page and get our newest articles automatically delivered straight to your inbox!
LIKE IT? PIN IT!
SHARE THE KNOWLEDGE!


Share:
What Are The Benefits of Worm Castings in Your Home & Garden?
Top 7 Orchіd Pest & Disease Issues To Prevent: Orchid Care (Part II)
1 comment
Love your site and all information. Your earthworm fertilizers make all my plants, including many orchids and Gardenia tree, VERY HAPPY! Thank you!
Ingrid