
Prayer Plant Care: A Recovering Plant Killer’s Guide to a Happy Maranta 🌱
By: Steven Devloo, Founder of Earthworm Technologies & Avid Plant Geek
⏱️ Reading Time: ~15 minutes
Table of Contents
- Introduction 🤦♂️
- Maranta Prayer Plant Care at a Glance 🌟
- Light Requirements 📝
- Watering 💧
- Soil & Potting Mix 🪴
- Temperature & Humidity 🌡️💧
- Fertilizing 🥕🌱
- Pruning & Maintenance ✂️🌿
- Repotting ⏳
- Propagation 🌱💕
- Troubleshooting Common Prayer Plant Problems 🩺🚑
- Prayer Plant Care People Also Ask (FAQ) 🤔❓
- Home Décor & Styling Ideas 💡🏡
- Conclusion & Final Thoughts 🎉
- Read These Articles Next 🔥
- Join My Organic Garden Community
1. Introduction 🤦♂️
Hi, I’m Steven – recovering plant killer turned eco-friendly plant dad. Gather ‘round for a tale of me versus a prayer plant. Spoiler: the plant won the first round. Picture this: I brought home my first prayer plant (Maranta) and plopped it on a sunny windowsill (because more sun = happier plant, right?). By day’s end, its poor leaves looked scorched like a crispy kale chip. Oops. That evening, as I sulked in shame, I noticed the plant moving on its own – its leaves were folding up for the night like hands in prayer! I nearly did a double take. Was I witnessing a plant miracle or just sleep deprivation? Turns out, prayer plants pray every night (who knew?) and mine was simply doing its bedtime routine while I had a mild heart attack. 🙃
After that little saga, I decided it was time to up my plant care game. Fast forward a few hilarious mishaps (a dramatic overwatering incident, a close call with a curious cat, and one midnight re-potting emergency later), and I’ve become something of a prayer plant whisperer. If I can keep this tropical diva happy, trust me, you can too. In this ultimate guide, I’ll share everything I learned the hard way about prayer plant care – with a dash of humor and plenty of actionable tips. From light and water demands to propagation and even home décor ideas, we’ve got a lot to cover. Let’s dive in and get that prayer plant praying (so you can stop anxiously whispering “please don’t die” every morning)! 🙏🌿
2. Maranta Prayer Plant Care at a Glance 🌟
- Light: Bright, indirect sunlight is ideal. Avoid direct sun which can scorch those pretty leaves. In low light, your prayer plant will survive, but it might lose some vibrancy or get a bit leggy.
- Water: Keep soil consistently moist but not soggy. Water when the top inch of soil feels dry. Never let your praying hands plant sit in standing water (they hate wet feet and will rot faster than you can say “uh-oh”).
- Soil: Plant in a well-draining, rich potting mix. A peat-based or coco coir mix with perlite works great – it holds moisture but still drains excess water. Good drainage = happy roots!
- Potting: Use a pot with drainage holes to prevent waterlogging. Prayer plants don’t mind being slightly snug in their pot, but give them a new pot (one size up) every 2 years or so.
- Temperature: Keep in a warm 65–85°F (18–29°C) environment. They’re tropical, so no cold drafts or chills. Below 60°F (15°C) and you’ll see a very grumpy plant.
- Humidity: High humidity (50%+ relative humidity) is a must for maximum happiness. If your home is dry, consider a humidifier, pebble tray, or occasional misting to pamper your plant.
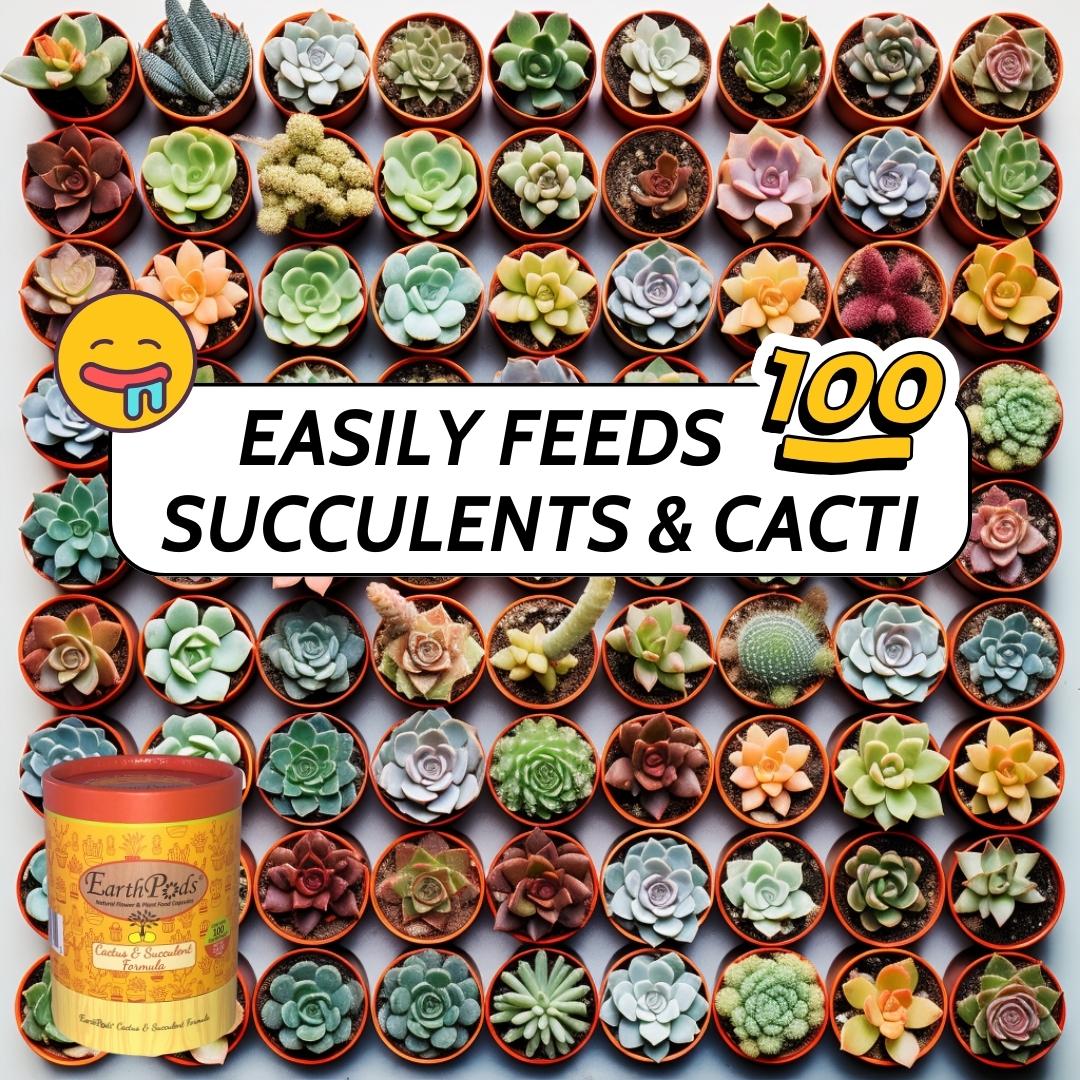
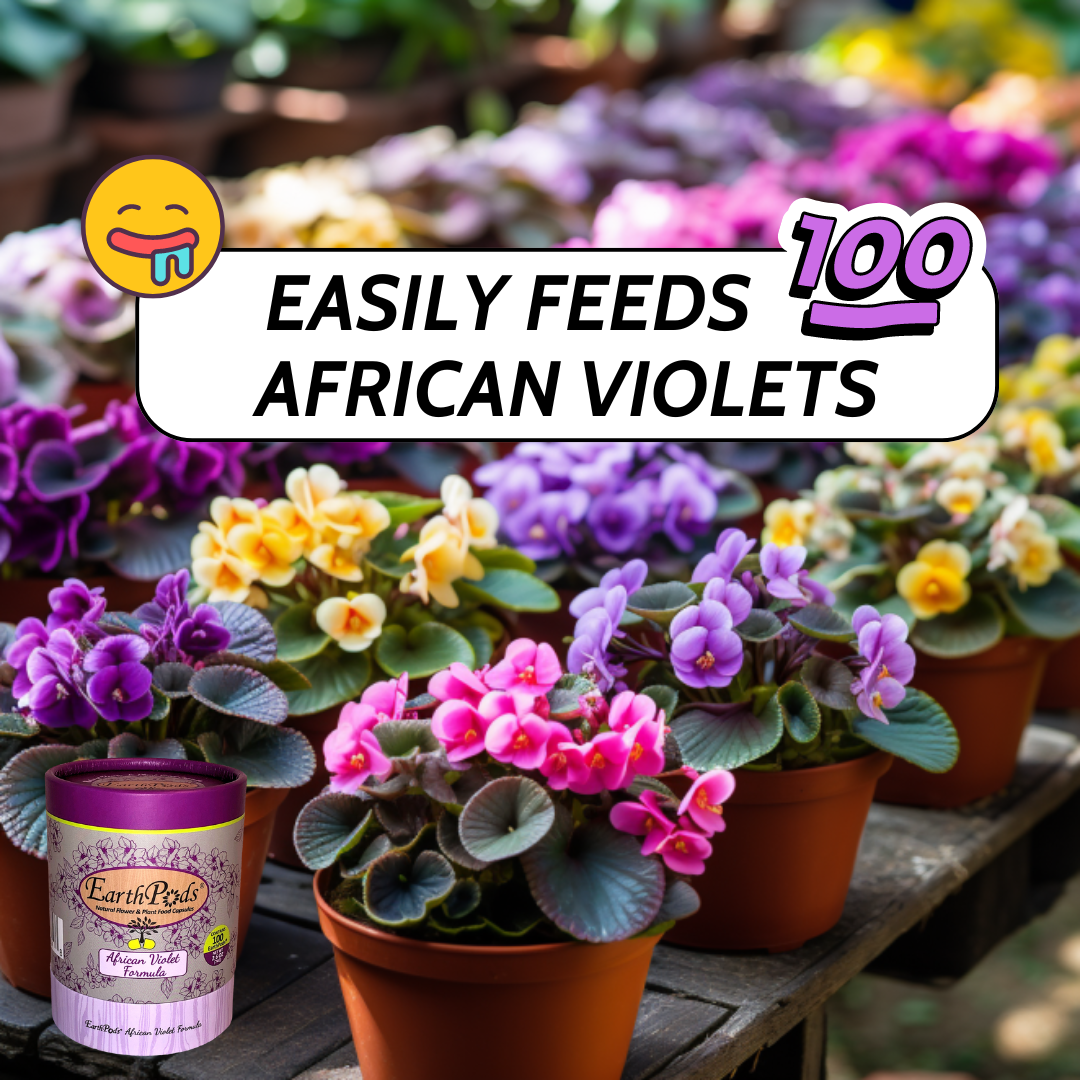
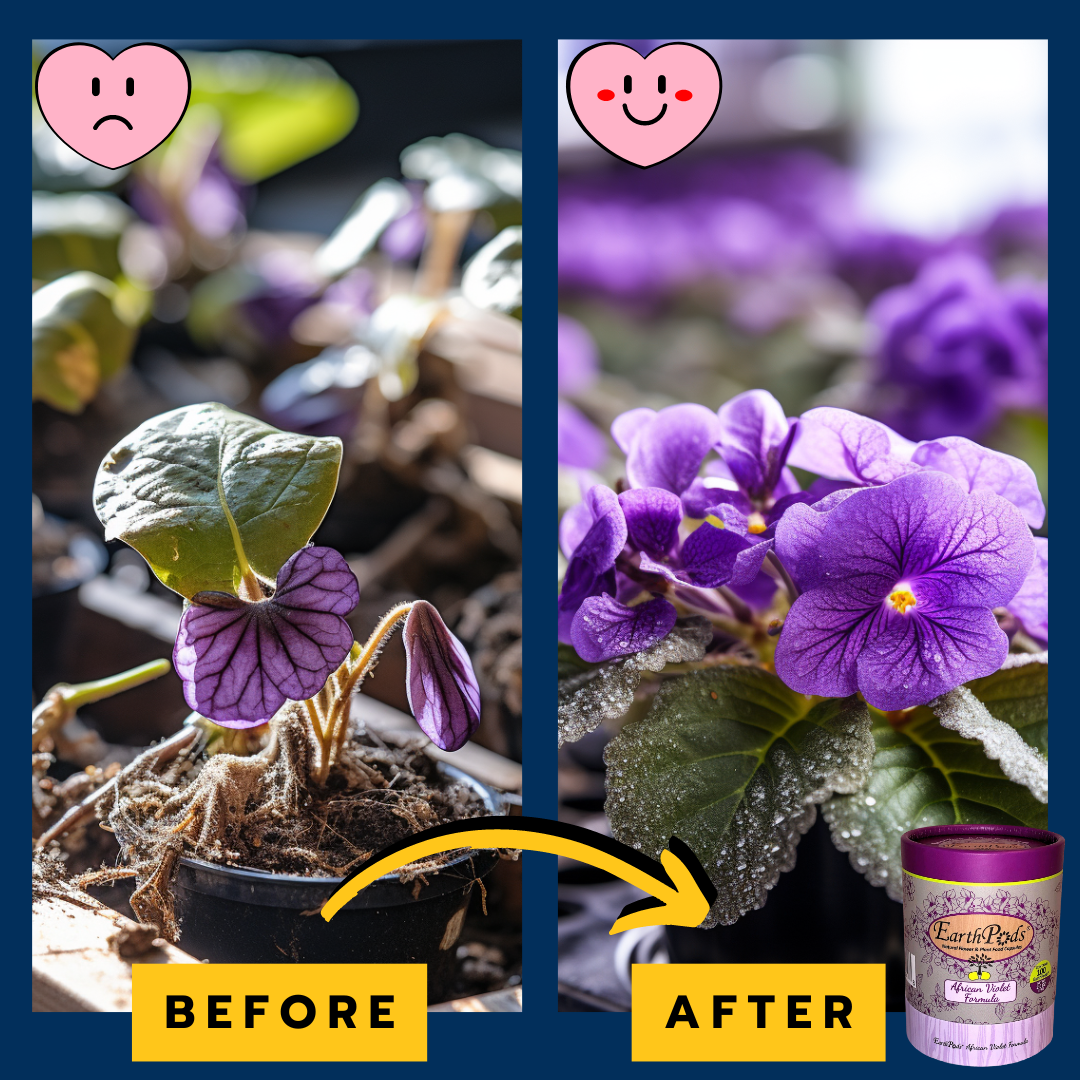
- Fertilizer: Feed lightly during spring and summer. A balanced, diluted houseplant fertilizer every 4 weeks is plenty. Organic, slow-release options (like EarthPods®) are perfect to avoid overfeeding. Skip the winter feeding – let it rest.
- Pruning: Trim leggy stems to encourage a bushier growth habit. Remove any yellow or dead leaves to keep the plant tidy and pest-free.
- Propagation: Fairly easy via stem cuttings or division. Best done in spring. You can multiply your prayer plant collection (and gift baby Marantas to friends – plant parent points!).
- Internal Clock: Prayer plants have a built-in circadian rhythm that triggers their nightly leaf-folding—even in constant darkness!
- Midnight Movers: That subtle rustling at night? It’s your plant doing its “bedtime yoga” (not a ghost sighting)! 👻🌿
- Historical Namesake: The genus Maranta is named after Bartolomeo Maranta, a 16th-century botanist who studied plant movements.
- Natural Camouflage: Their unique leaf patterns help them blend into the forest floor, confusing potential herbivores.
- Medicinal Kin: A close relative produces arrowroot starch, once used to treat poison arrow wounds in ancient times.
3. Light Requirements 📝✅
Prayer plants are native to the rainforests of Brazil, where they live under a canopy of trees. Translation: they love bright, filtered light – think “dappled sunbeam through a jungle canopy” vibe. Bright indirect light will keep their leaves vibrant and beautifully patterned. Place your prayer plant near a north or east-facing window, or a few feet back from a sunnier window with a sheer curtain to diffuse the rays. If you notice the colors on the leaves fading or browning at the edges, it might be getting too much sun (sunburn is real, even for plants – I learned this when my poor Maranta turned into a sun-toasted tortilla one summer afternoon). On the flip side, too little light can cause slow growth and dull, less pronounced leaf patterns. In very low light, a prayer plant might stop its dramatic day-night leaf dance (more on that in a sec) and start stretching out (becoming “leggy”) as it searches for more rays.
Aim for:
- No direct midday sun. Direct sunlight can scorch the delicate leaves within hours. If you see bleached, washed-out patches or crispy brown spots appearing, consider it a sunburn – move the plant to a shadier spot ASAP.
- Consistent medium light. While prayer plants tolerate low light better than some divas (looking at you, Calathea), they thrive in medium brightness. If you can comfortably read a book in that spot most of the day, it’s probably perfect.
- A natural day/night cycle. Remember how these guys fold up their leaves at night? That’s called nyctinasty, a fancy term for their built-in circadian rhythm. To see the “prayer” in action, give them some darkness at night. If you keep lights on 24/7, your prayer plant might get confused and not pray (we answer “Why isn’t it praying?” in the FAQ below). I once had a prayer plant in an office with lights on constantly – the poor thing thought it was eternal daytime and never folded up at bedtime. Lesson learned: even plants need lights-out to do their yoga and meditation! 🧘♂️🌿
Pro-Tip: Rotate your plant a quarter turn every week or two. Prayer plants tend to follow the light (their leaves literally move toward light during the day), so rotating helps keep growth even and prevents a lopsided, leaning plant. Plus, you get to admire all sides of its foliage!
4. Watering 💧
If my prayer plant could talk, it would say: “Keep me moist, but don’t drown me, please!” Watering prayer plants is a bit of a Goldilocks situation – they want it just right. In their native rainforest floor habitat, the soil is consistently damp from frequent rain and humidity, but it also drains quickly thanks to lots of organic material. Here’s how to mimic that balance at home without turning your living room into a swamp:
- Water when the top inch is dry: Use your finger to check the soil moisture every few days. If the top feels dry, it’s time for a drink. If it’s still a bit damp, hold off a day or two. Prayer plants don’t like to dry out completely; if they do, you’ll notice the plant drooping dramatically (imagine a toddler throwing a tantrum – that’s your prayer plant when it’s parched). On the other hand, sitting in sopping wet soil will lead to root rot and yellowing leaves. So aim for that happy medium: evenly moist soil.
- Water thoroughly, then drain: When it’s watering time, pour water slowly over the soil until it begins to drip out of the drainage holes (always have drainage holes, more on that soon). This ensures all roots get a sip. Discard any water that collects in the saucer after a few minutes – no stagnant “feet soaking”! I admit, I once left my plant sitting in a full saucer overnight – by morning it looked like a soggy, sad pancake. Never again. Now I dump the excess water promptly, and my prayer plant secretly thanks me. 🙏
- Use the right water: Prayer plants can be a bit picky about water quality. Hard water or water high in minerals, chlorine, or fluoride can cause brown leaf tips or edges over time. If you notice crispy tips and you’ve ruled out low humidity, your tap water might be the culprit. To be safe, use filtered or distilled water, or let tap water sit out overnight to let chlorine evaporate before using. My own Maranta gets the royal treatment of rainwater when I have it.
- Consistency is key: Try to water on a consistent schedule relative to the plant’s needs. In warm growing seasons (spring/summer), you may water about once a week (or more if your home is very dry and warm). In winter, the plant’s growth slows, and you might cut back to every 2 weeks or so. Always check the soil; never water just out of habit. If you’re ever unsure, it’s safer to slightly underwater than overwater with prayer plants. They’ll bounce back from a mild wilt faster than from root rot. If you do forget and find a wilted, floppy plant, water it pronto – it should perk up within a day.
- Temperature of water: A quick but important detail – use room temperature water. Ice-cold water can shock the roots (imagine a cold shower at 6 AM – yikes). Tepid or lukewarm water is gentler and more in line with the rainwater they’d get in a tropical climate.
5. Soil & Potting Mix 🪴
A prayer plant’s roots are like the foundation of a house – give them a solid foundation and the whole plant will thrive. In the wild, prayer plants grow in loamy, nutrient-rich soil blanketed with decaying leaves (yummy compost!) and lots of airflow around the roots. We need to replicate that with a good potting mix. Here’s what to look for in soil and potting:
Ideal Soil Composition:
- Peat moss or coco coir: These provide organic matter that retains moisture without waterlogging. They also create the slight acidity (pH ~6) that prayer plants prefer.
- Perlite or pumice: These little white bits in the soil mix are gold for drainage. Mixing in about 20-30% perlite ensures water doesn’t stay stagnant. It creates air pockets so roots can breathe (yes, roots need oxygen too!). No suffocating allowed – a lesson I learned when I tried a cheap dense soil that turned into mud; my prayer plant’s roots almost started praying for mercy.
- Compost or worm castings: A handful of compost or worm poop (I am the Earthworm guy, after all) can enrich the soil with nutrients and beneficial microbes. It’s optional but your plant will appreciate the buffet of slow-release nutrients. Just don’t overdo it or the mix can become too moisture-retentive.
You can also buy a pre-made soil mix labeled for African violets or tropical houseplants – these usually have similar qualities needed for prayer plants. When in doubt, add a bit more perlite to that store mix.
Pot Choice: It’s not just about the soil, the pot plays a role too. Always use a pot with drainage holes (I’m going to tattoo this on my arm at this point, I say it so much). Proper drainage prevents root rot by letting excess water escape. As for pot material:
- Plastic or glazed ceramic pots: Hold moisture longer (they’re less porous). If you tend to underwater, these might help keep soil moist a bit longer.
- Terracotta (clay) pots: Are porous and wick moisture away from soil, causing it to dry faster. If you have a heavy watering hand (guilty as charged) or you live in a very humid area, terracotta can be your friend to avoid soggy soil. Just watch that the faster drying doesn’t leave the plant too thirsty – again, balance.
Pot Size: Choose a pot that’s just a couple inches larger than the root ball. Prayer plants like a slightly snug fit – too large a pot means excess soil that stays wet, which can lead to rot. When you notice roots creeping out of the drainage holes or circling the pot, it’s a sign your plant might want a bit more legroom (we’ll talk repotting in detail soon). I confess, I once thought giving my prayer plant a “mansIon” of a pot would let it grow huge. Instead, it sulked in the oversized pot with wet soil and barely grew at all. After I downsized it to a cozier pot with fresh mix, it took off again. Lesson: bigger pot is not always better for these guys.
Soil Refresh & Aeration: It’s good practice to refresh the top layer of soil every now and then (say, once a year). Gently remove an inch of old soil on top and replace with fresh mix or compost. This gives a nutrient boost and prevents crusty mineral build-up. Also, you can aerate the soil occasionally by poking a few holes gently with a chopstick – this helps oxygen reach deeper roots and can break up any slight compaction (plus, it makes you look very professional doing “acupuncture” on your plant).
Get the soil and pot right, and your prayer plant’s roots will be singing hallelujah. Healthy roots = healthy shoots = gorgeous foliage for you to admire.
Featured Prayer Plant Accessories 🛠️
-
Levoit OasisMist LV600S Smart Humidifier ➡️ BUY ON AMAZON
Keeps your Maranta in its own personal rainforest with smart humidity control. -
Soltech Aspect LED Grow Light (Small) ➡️ BUY ON AMAZON
Combines chic design with a full spectrum perfect for bright, indirect light. -
Automatic Drip Irrigation Kit (15-Plant Capacity) ➡️ BUY ON AMAZON
Delivers a steady dose of moisture directly to roots, preventing overwatering mishaps. -
D'vine Self-Watering Planter (10″) ➡️ BUY ON AMAZON
Features a built-in reservoir and wick system to keep soil consistently moist without drowning the plant. -
Click & Grow Smart Garden 9 PRO ➡️ BUY ON AMAZON
A high-tech countertop indoor garden that automates care with built-in sensors and LED lights—ideal for busy plant parents.
6. Temperature & Humidity 🌡️💧
Remember that tropical rainforest origin? That’s our clue: prayer plants love warm and humid conditions. If your prayer plant had its way, it would live in a greenhouse spa, sipping filtered water and listening to rainforest sounds on loop. Since most of us can’t quite turn our homes into a jungle (at least not yet, though my living room is getting close!), here’s how to meet your plant’s temperature and humidity needs:
Temperature:
- Optimal Range: Keep it in the 65–85°F (18–29°C) range. Basically, typical room temperature or a touch warmer is perfect. They do not like cold. Anything consistently below 60°F (15°C) will cause problems – leaves may wilt, curl, or develop dark splotches as a stress response. Cold drafts are a silent killer too. Keep your prayer plant away from leaky windows in winter, AC vents blasting cold air, or doors that open to the frigid outdoors. If you feel a chill, your tropical plant definitely does. In my house, my Maranta gets moved away from the patio door in winter after one near-frostbite incident.
- Avoid Extreme Heat: While they like warm, above 85°F (30°C) isn’t ideal for long periods, especially if the air is dry. Hot and dry = crisped plant. If you live in a desert climate or heatwave hits, keep them away from heaters and consider extra humidity. Fortunately, average home temps are fine for these plants as long as it’s not an igloo or a sauna in there.
Humidity:
- Prayer plants thrive in high humidity – ideally 50% relative humidity or more.
- If your home is dry, especially in winter, consider a humidifier, a pebble tray, or occasional misting to increase humidity.
- Humidifier: A small room humidifier set around 50-60% RH works wonders. I do this in winter to keep my plant gang happy.
- Pebble Tray: Place your plant’s pot on a tray filled with pebbles and water (ensuring the pot isn’t submerged) to create a humid microclimate.
- Misting: Light misting can temporarily boost humidity. Use a fine spray in the morning so the leaves dry during the day, avoiding fungal issues.
- Group Your Plants: Clustering plants together can create a higher humidity micro-environment.
In summary, keep it warm and moist (in the air, not the soil) for your prayer plant. Think tropical thoughts. Your plant will repay you by looking lush and perky – and you might even notice it prays more dramatically when humidity is high.
7. Fertilizing 🥕🌱
Fun fact: Prayer plants aren’t huge gluttons when it comes to feeding, but they do appreciate regular meals during the growing season. Fertilizing can be a bit of a tightrope – too little and you get slow growth and pale, tired-looking leaves; too much and you risk burning those roots or causing brown leaf tips. Let’s break down how to feed your prayer plant for optimum health without turning it into a diva on a sugar-high.
When and How Often to Fertilize:
- Feed during spring and summer when the plant is actively growing. A good rule of thumb is to fertilize about once a month.
- You can even fertilize every 2-3 weeks if using a very diluted fertilizer and if the plant is pushing out lots of growth.
- In fall and winter, dial it back – shorter days and cooler temps mean the plant isn’t using up nutrients as quickly, and you don’t want to force-feed it when it’s trying to rest.
Type of Fertilizer:
- Synthetic/chemical fertilizers: These are not my recommendation but are your typical liquid houseplant fertilizers (often a 10-10-10 or 20-20-20 N-P-K balance, etc.) or granular formulas. They deliver nutrients quickly, which can spur fast growth. However, it’s easy to overdo it and cause fertilizer burn (brown, crispy tips or edges). If you go this route, dilute the fertilizer to half or quarter strength of what the label suggests. For example, if it says one teaspoon per quart, do half that. And never fertilize more often than recommended – more food does not equal more love in this case. I recall dumping a full-strength dose on a previous prayer plant before my organic days; I was enthusiastically trying to make it grow faster. The poor thing responded with yellow edges and a general “I feel icky” look. Lesson: moderation! Also, over time chemical fertilizers can cause salt build-up in the soil, which prayer plants hate (flush the soil occasionally by watering extra and letting it drain through thoroughly to leach out salts).
- Organic fertilizers: These are jobviously my personal favorite (no surprise, as the worm guy). They release nutrients slowly and improve soil health. Examples include compost, worm castings, fish emulsion, or seaweed extracts. They’re much gentler, so the risk of burning your plant is low. The trade-off is that they often smell a bit (fish emulsion, anyone? Eau de low-tide in your living room… no thanks!). But fear not, there are smell-free organic options now – which brings me to a little secret weapon for prayer plant feeding…
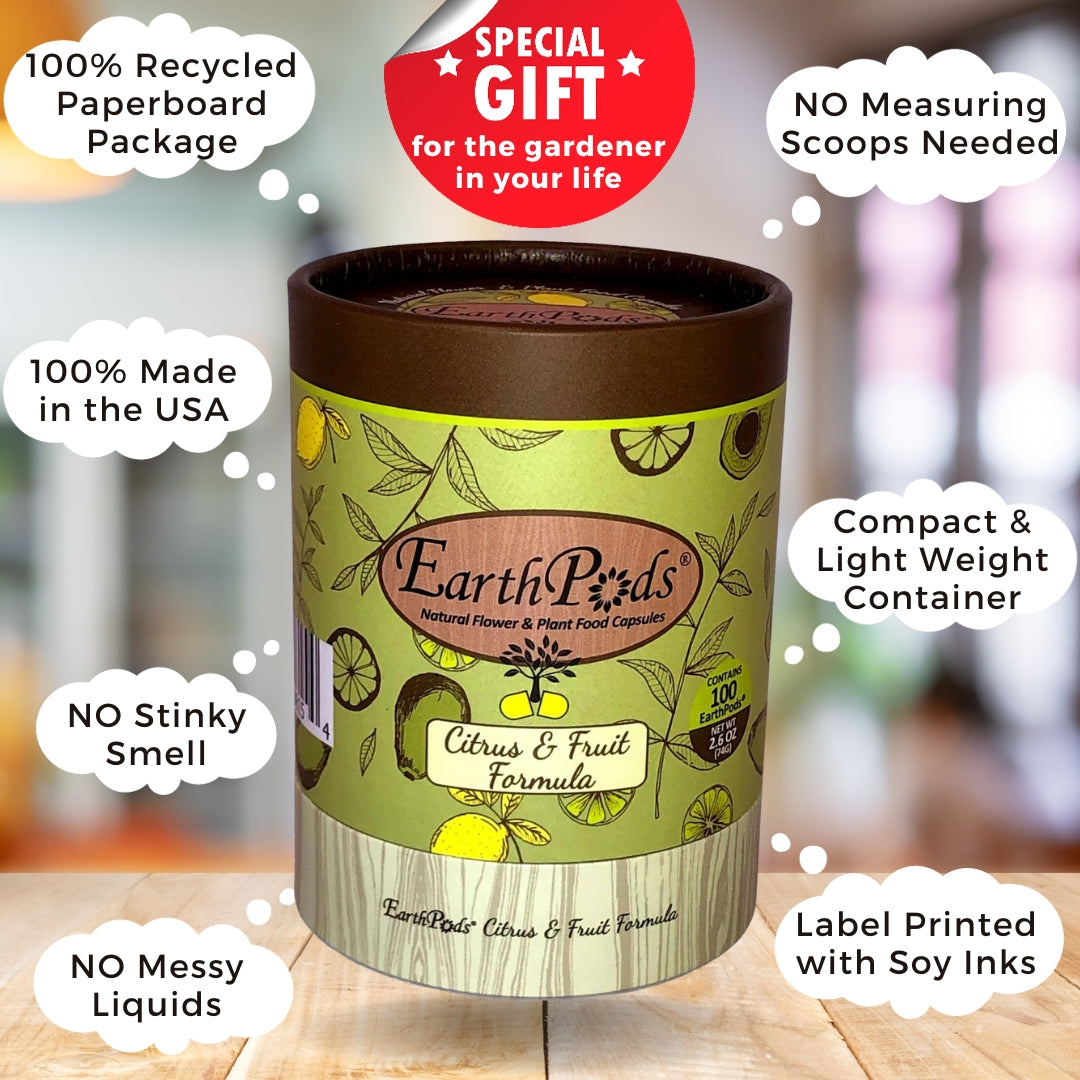
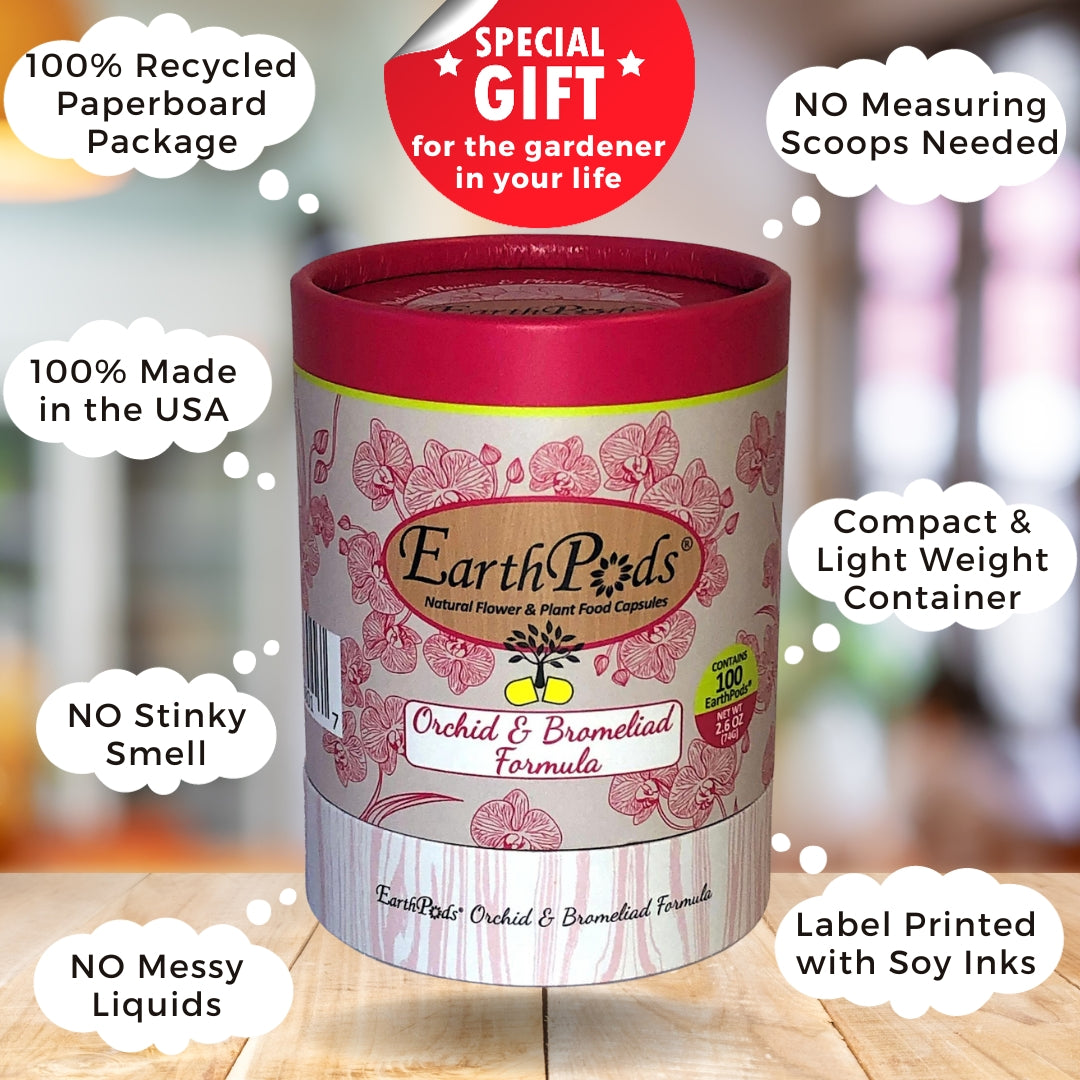
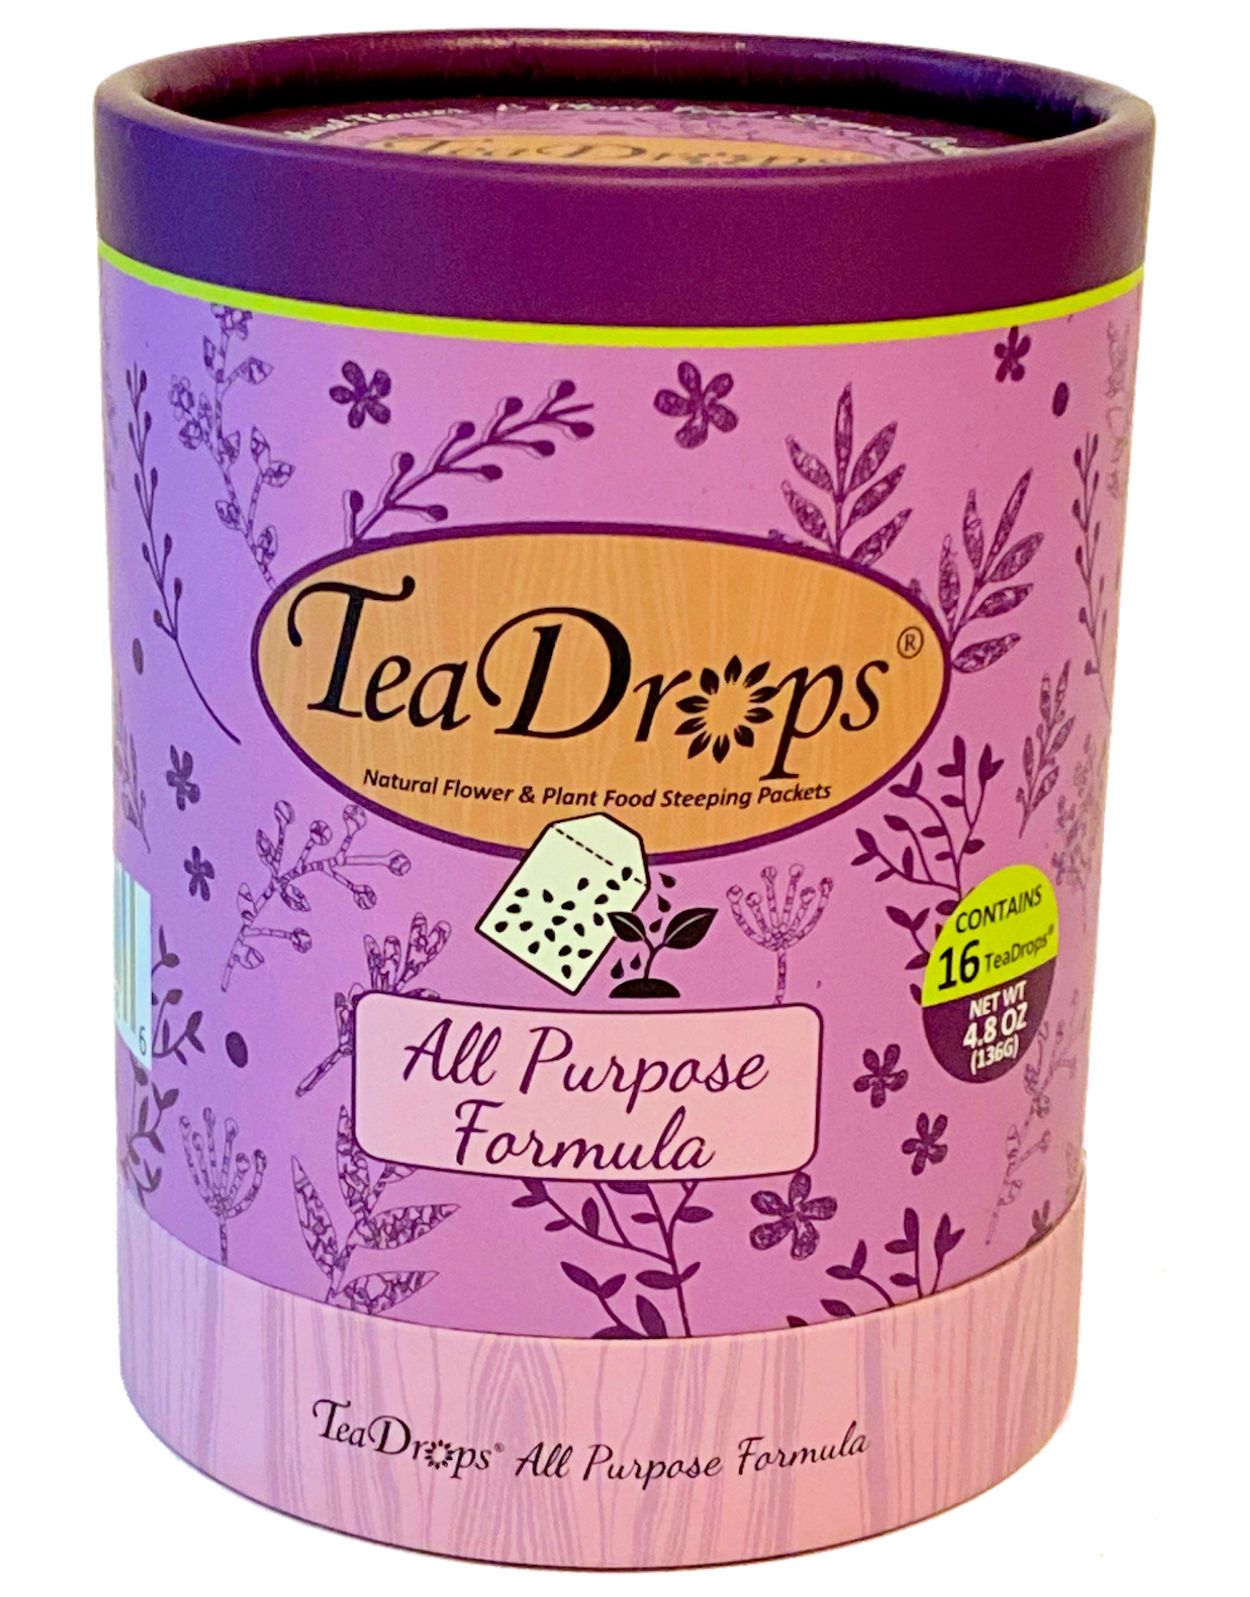
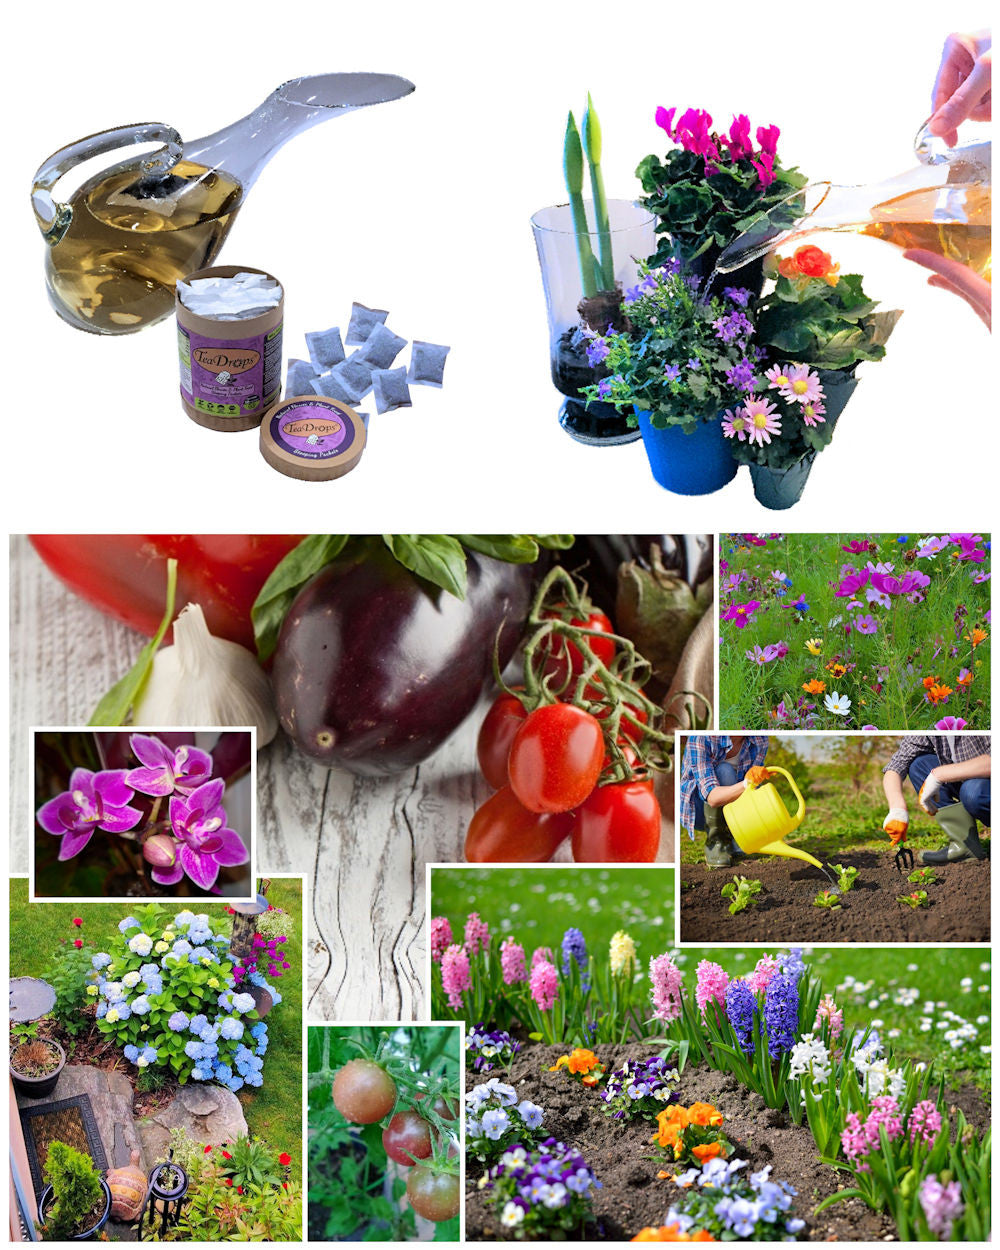
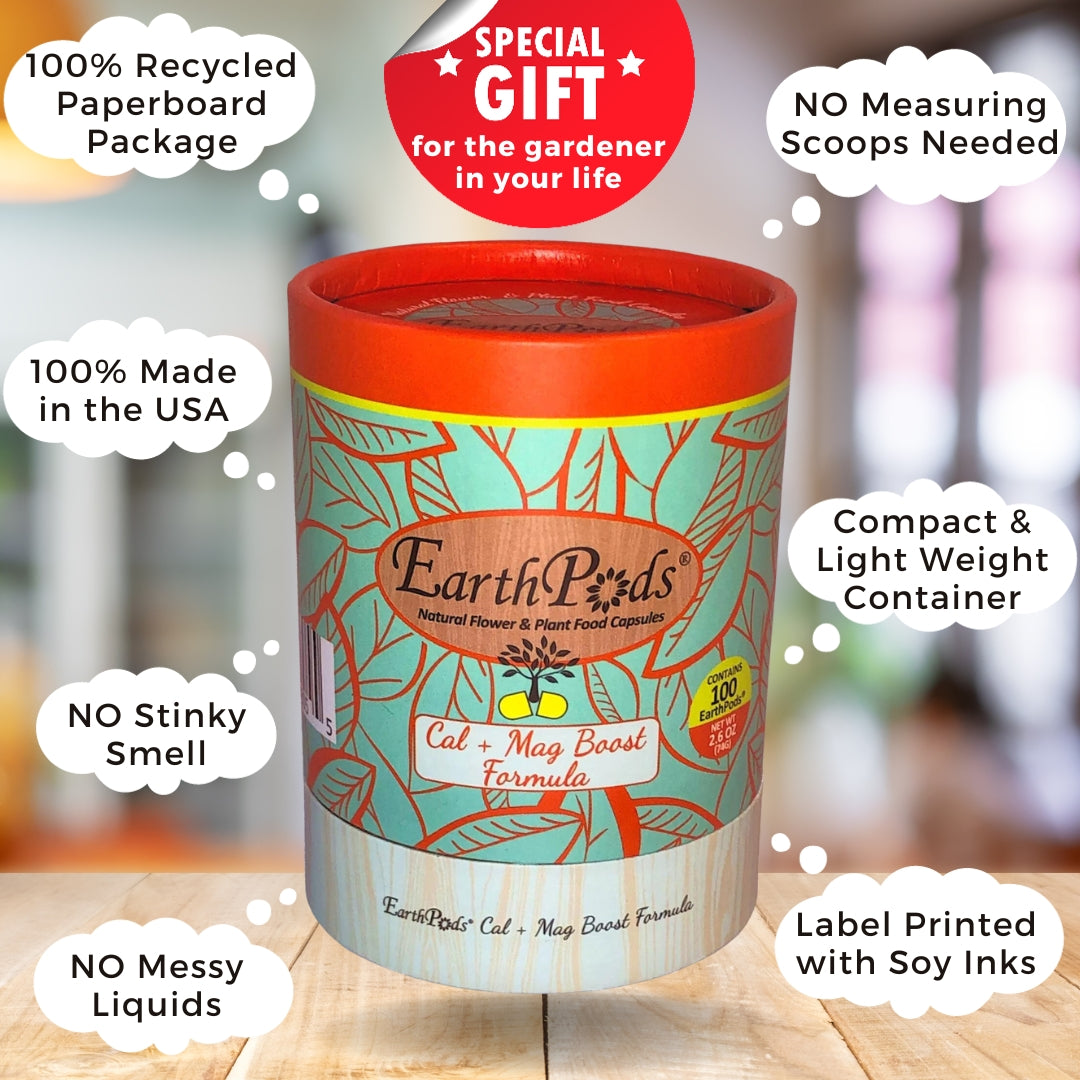
🌿 EarthPods® & TeaDrops® – Natural Feeding Made Easy!
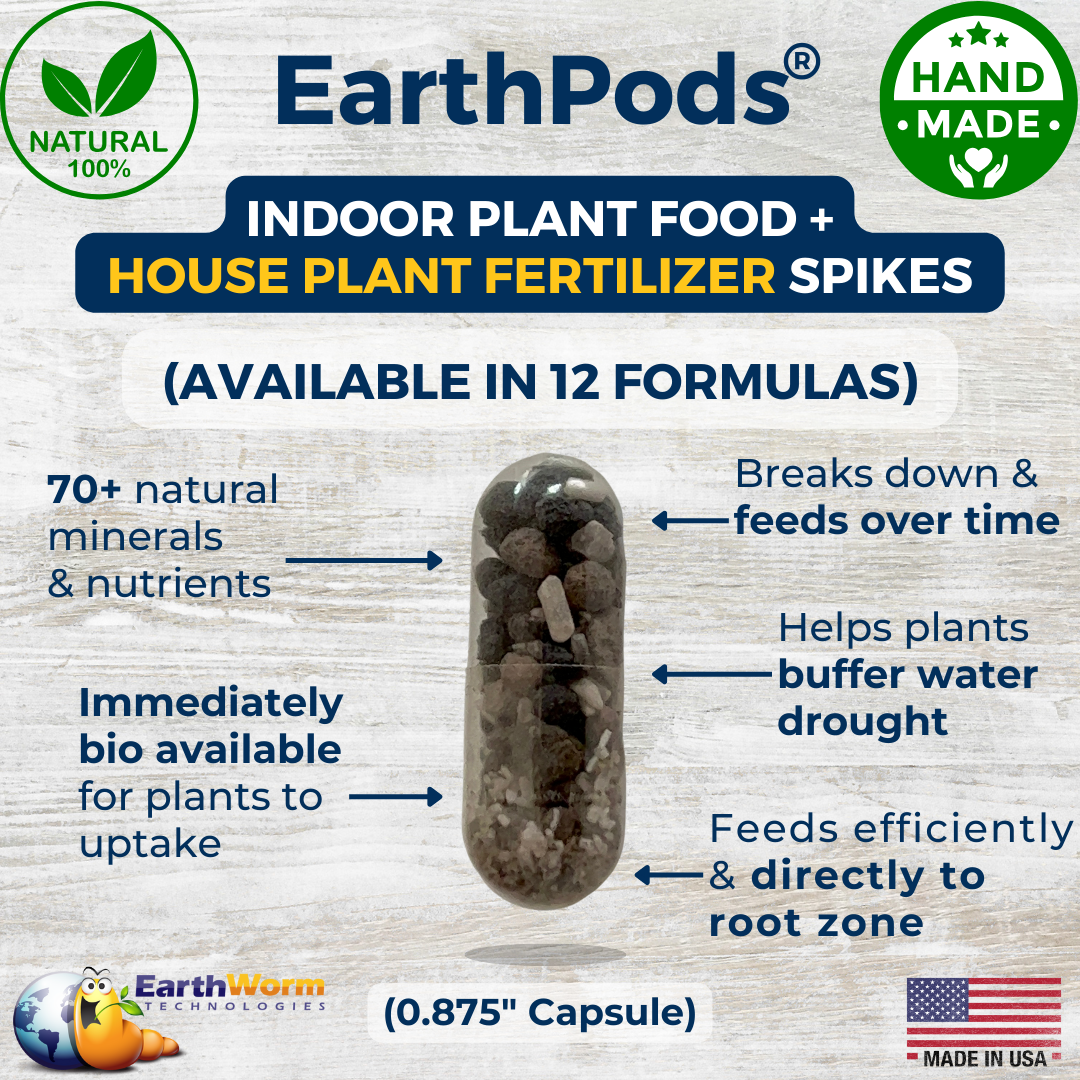
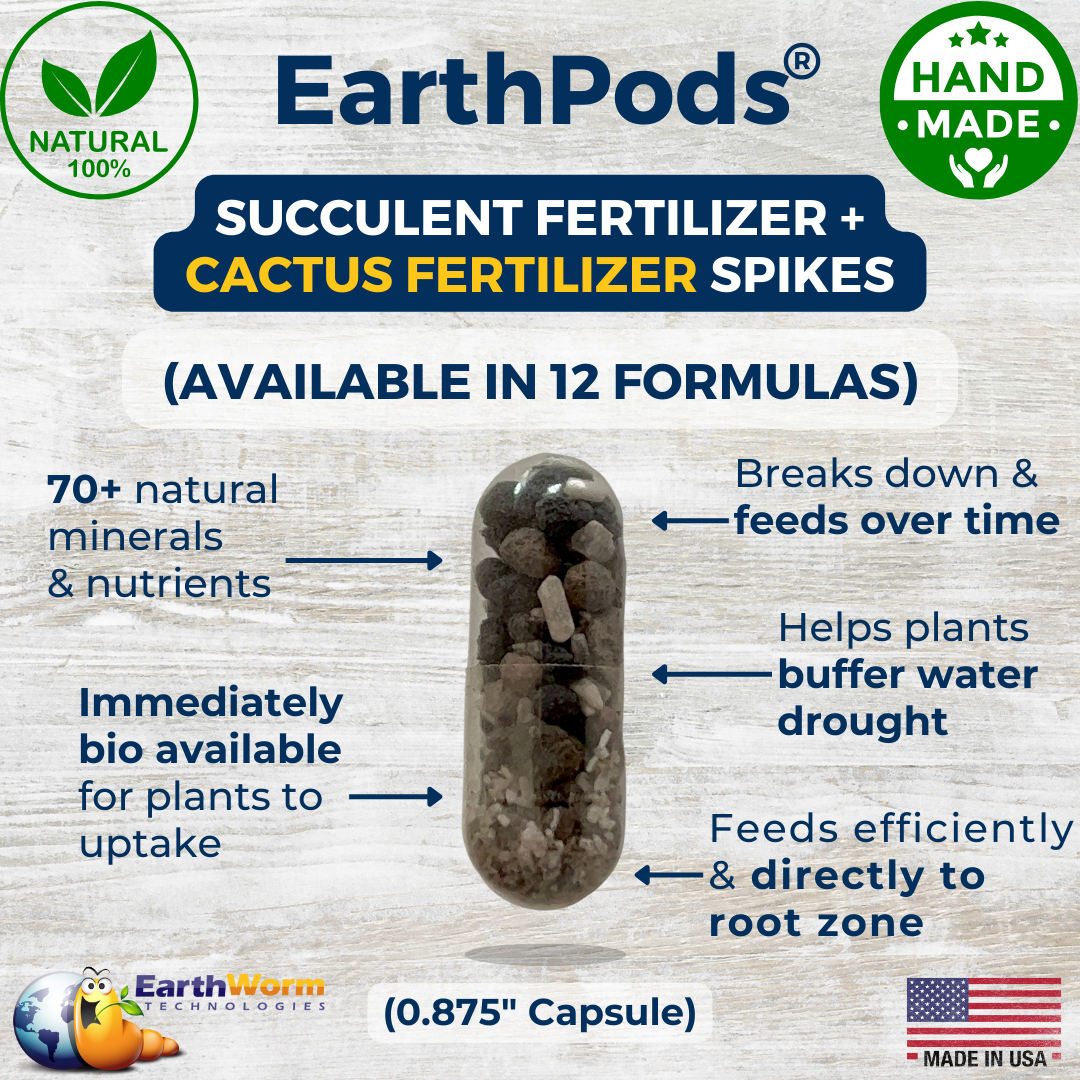
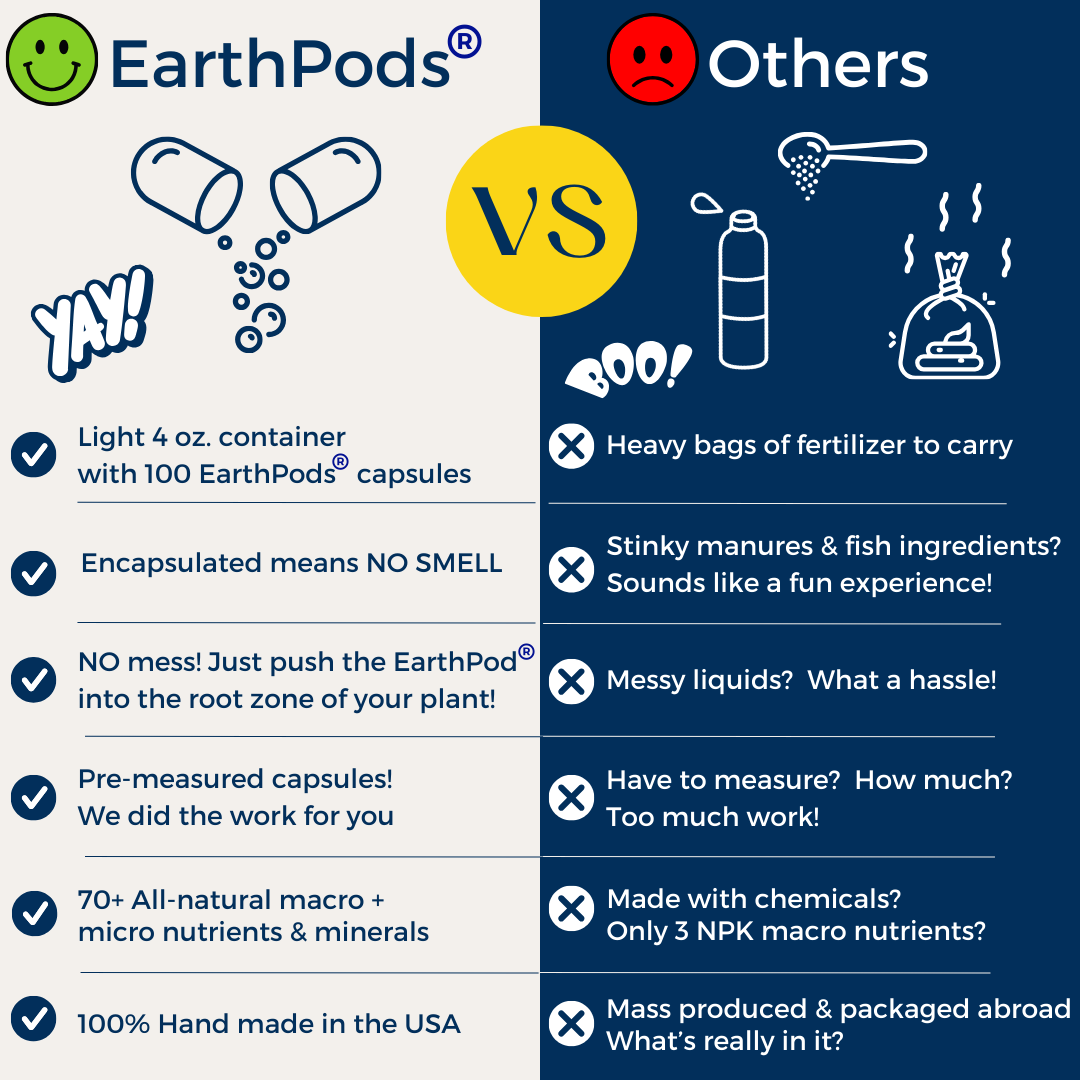
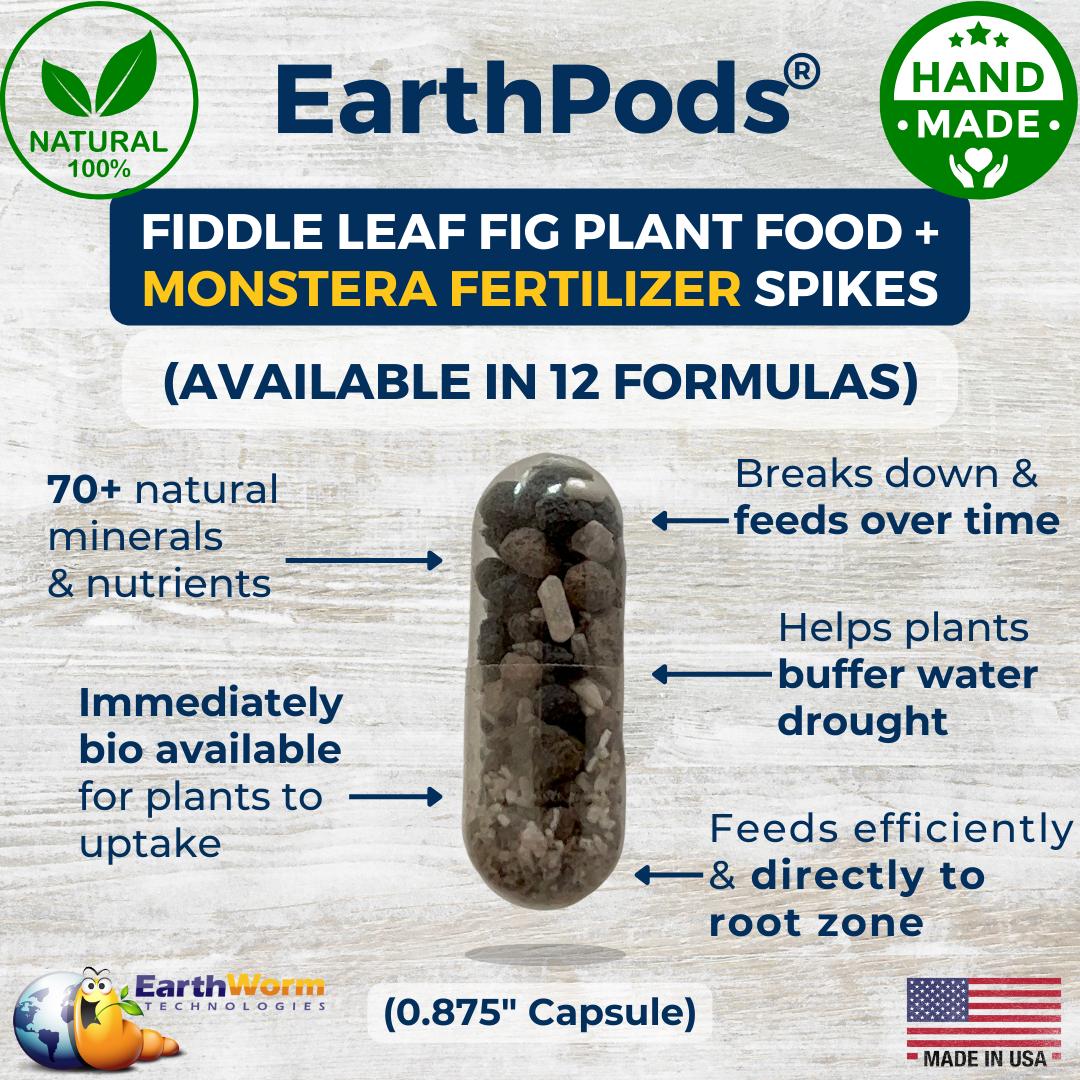
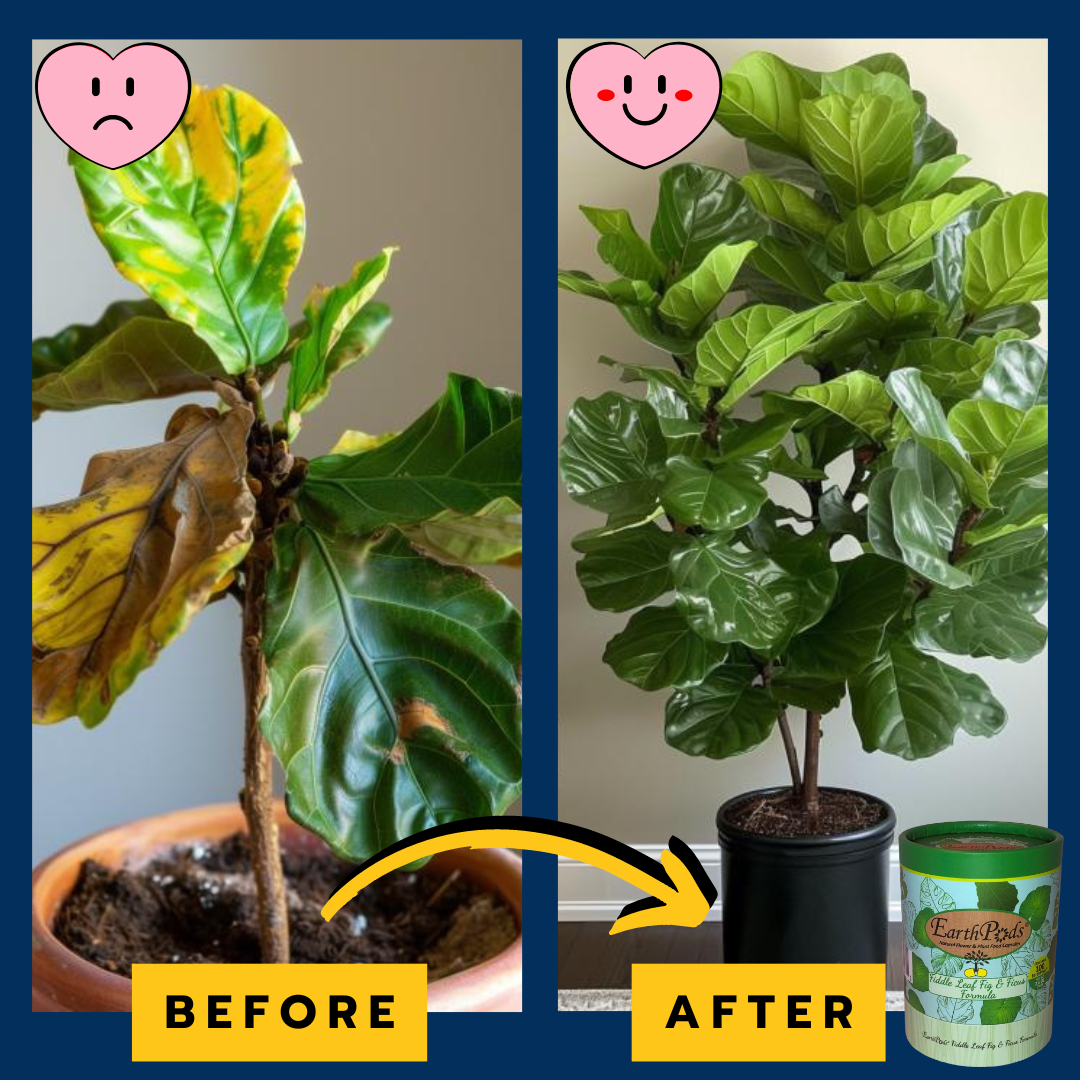
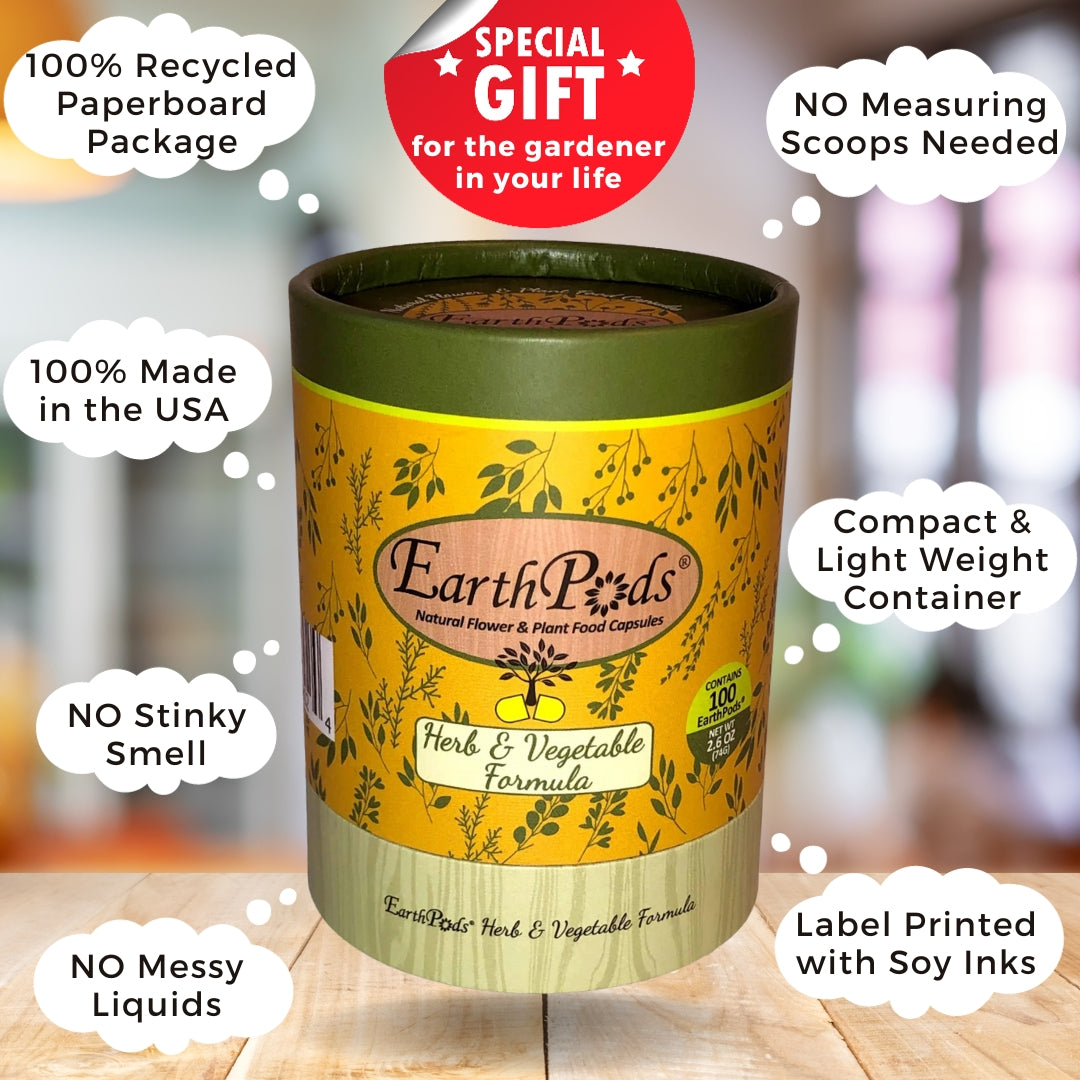
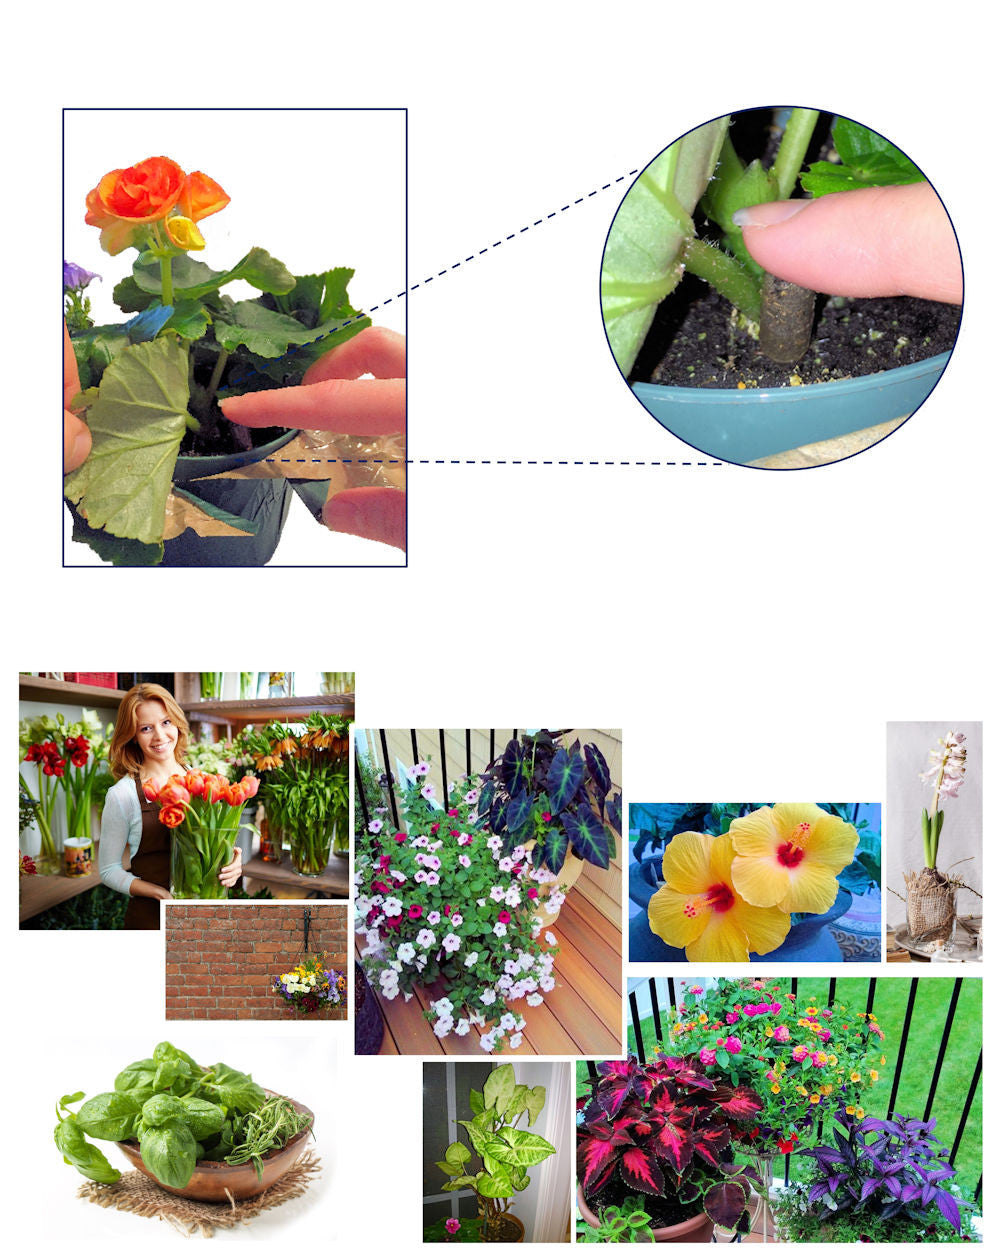
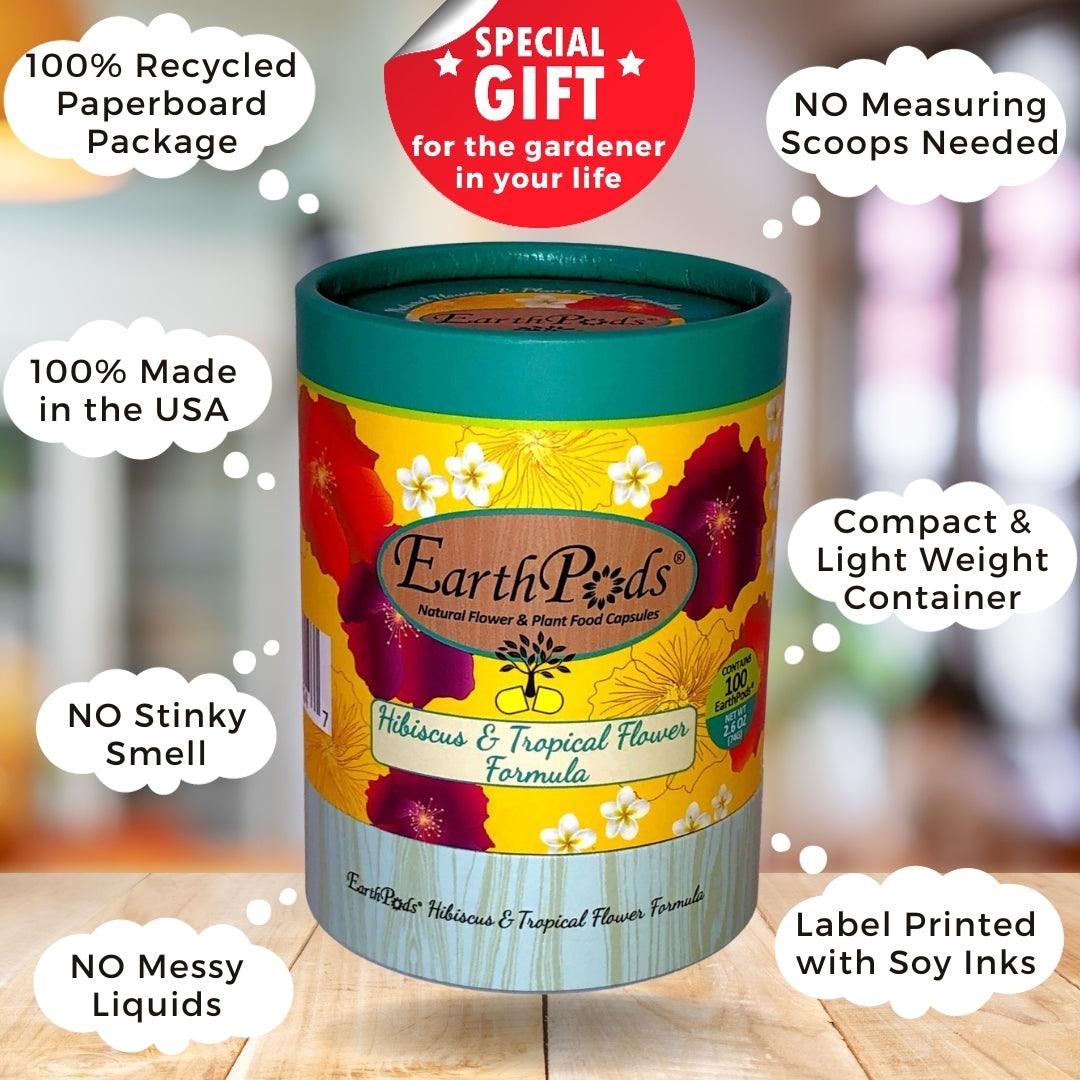
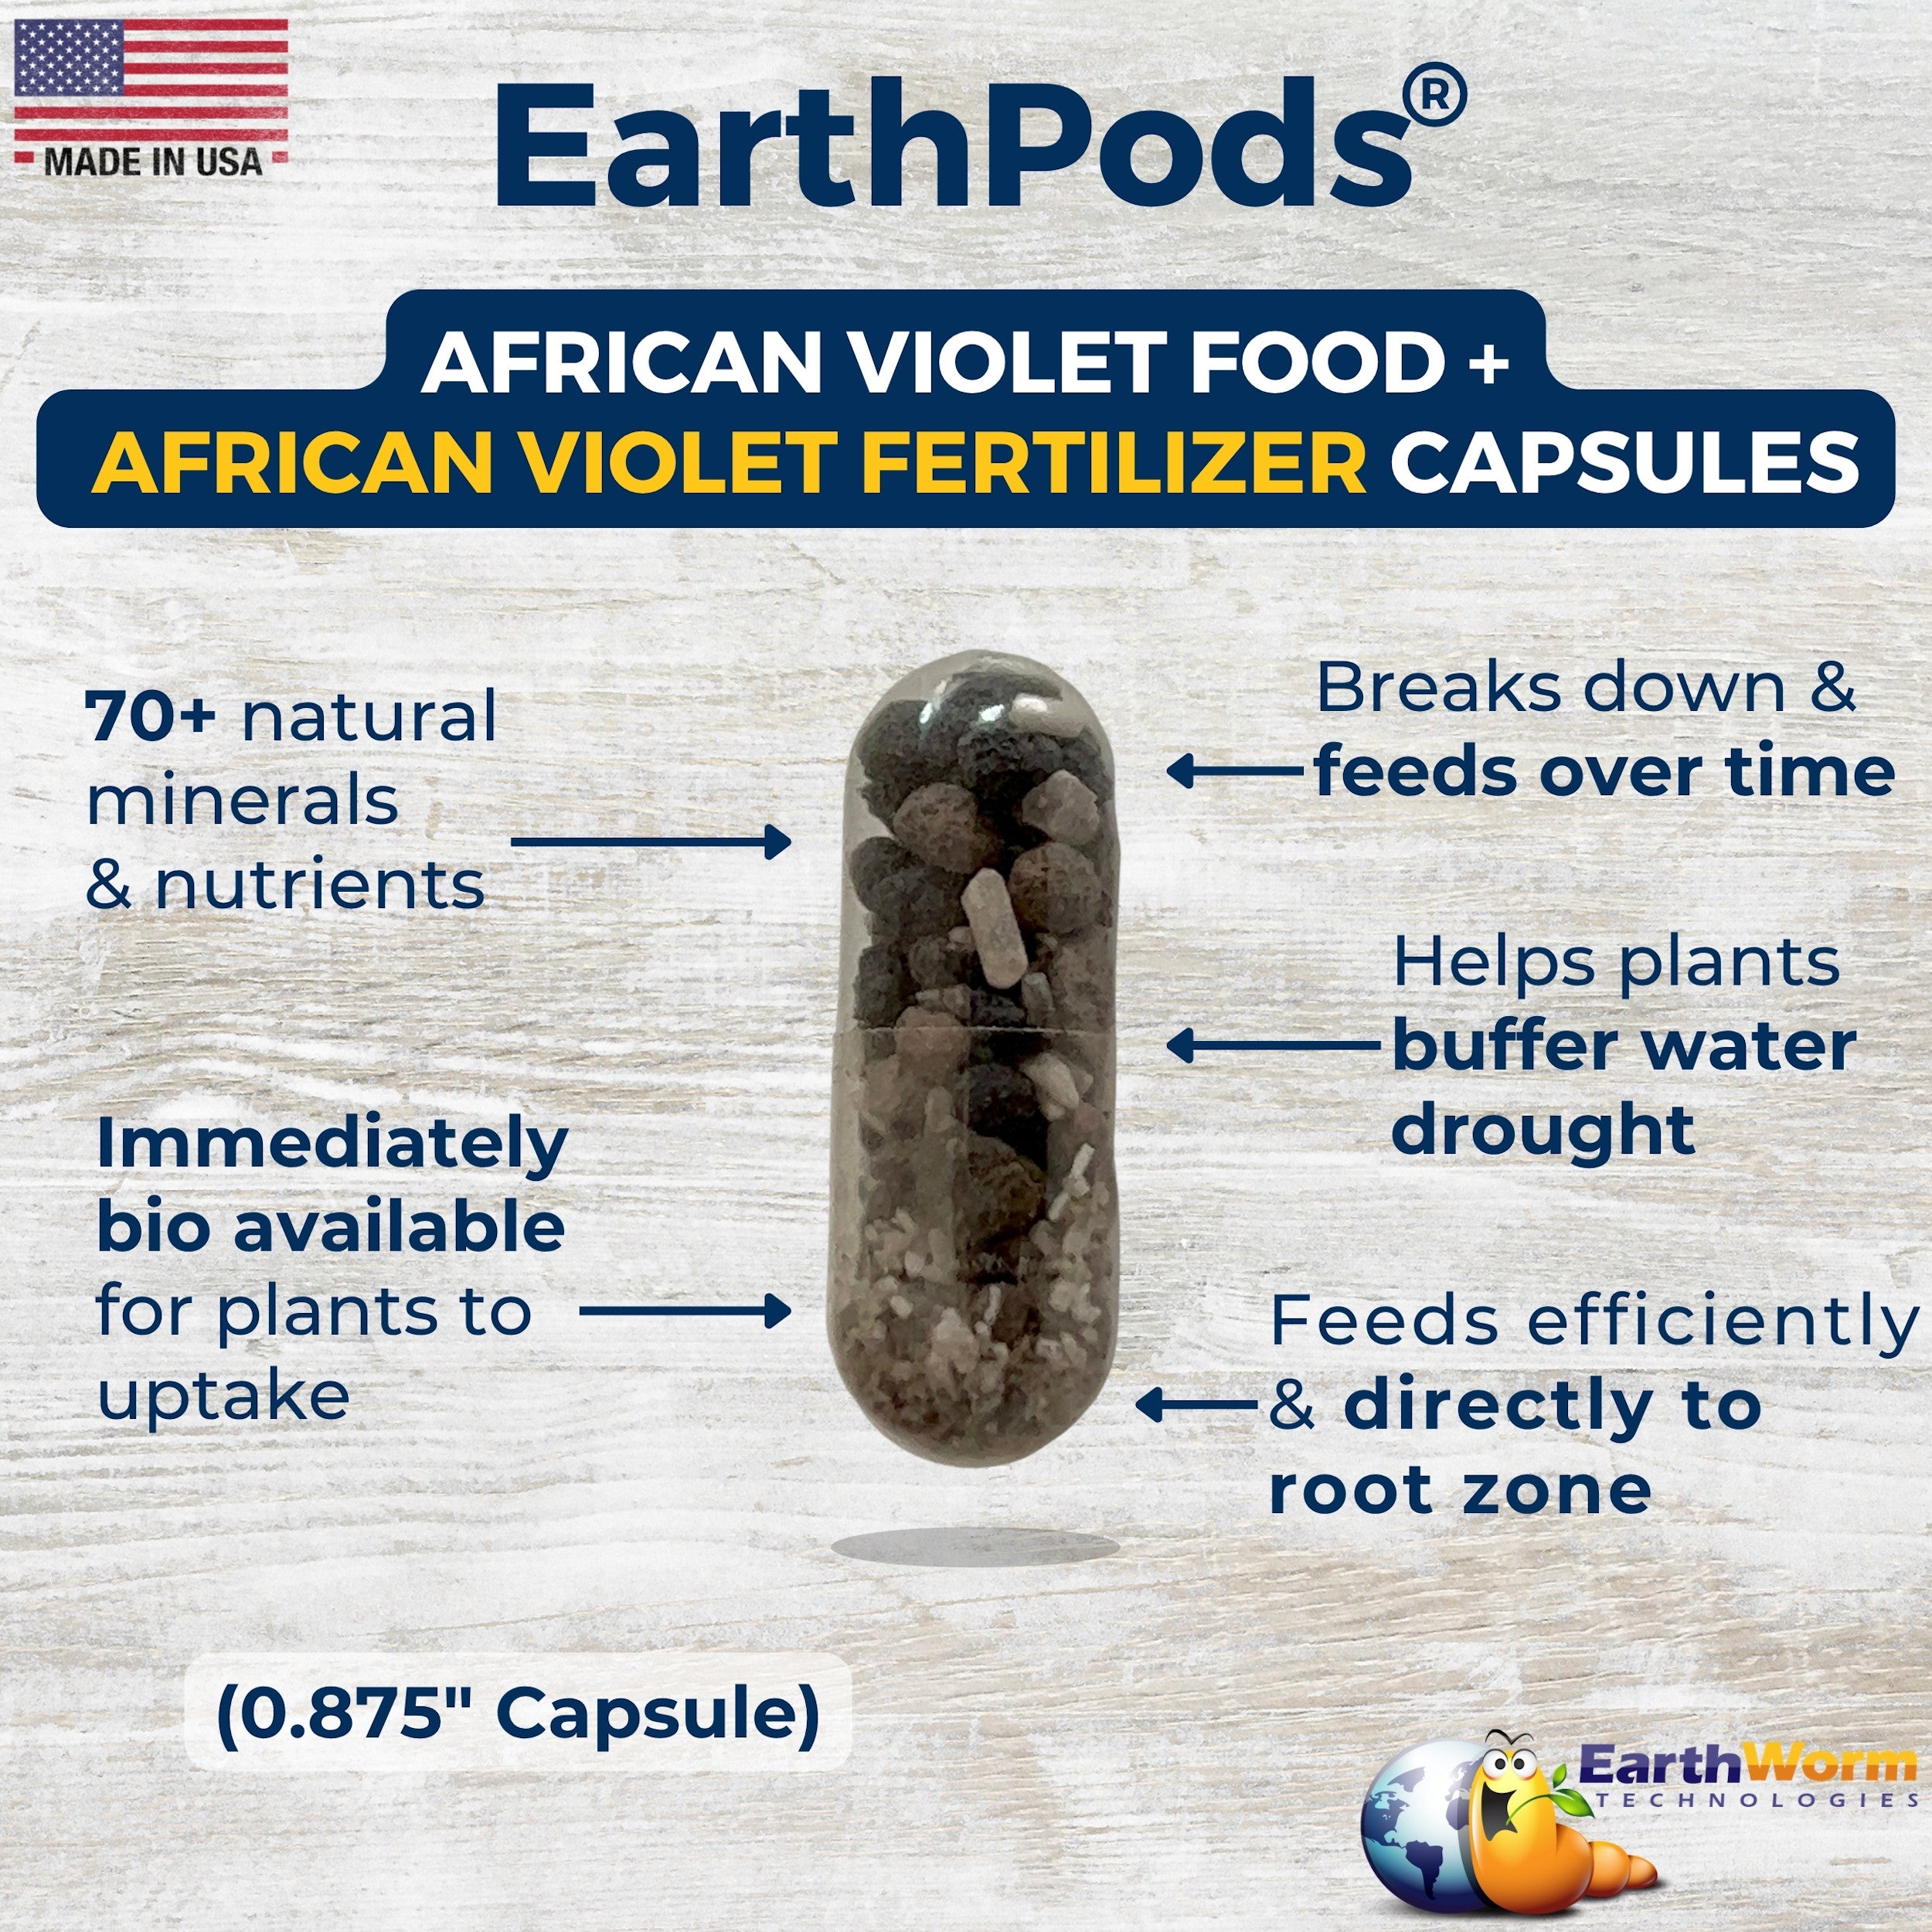
Tired of measuring, mixing, and the “stinky fertilizer fingers” routine? I hear you. I created EarthPods® and TeaDrops® as ultra-easy, organic plant food solutions for folks just like us. EarthPods are compact fertilizer spikes jam-packed with organic nutrients (think worm castings, kelp, and other goodies) that you simply push into the soil. No mess, no smell, no measuring – and they deliver a slow-release feast to your prayer plant’s roots. It’s like giving your plant a gourmet buffet instead of fast food. 💫 Just put 1-2 EarthPods all the way into the soil near the plant base every month or so (for a medium-sized prayer plant) during spring/summer, and the job’s done!
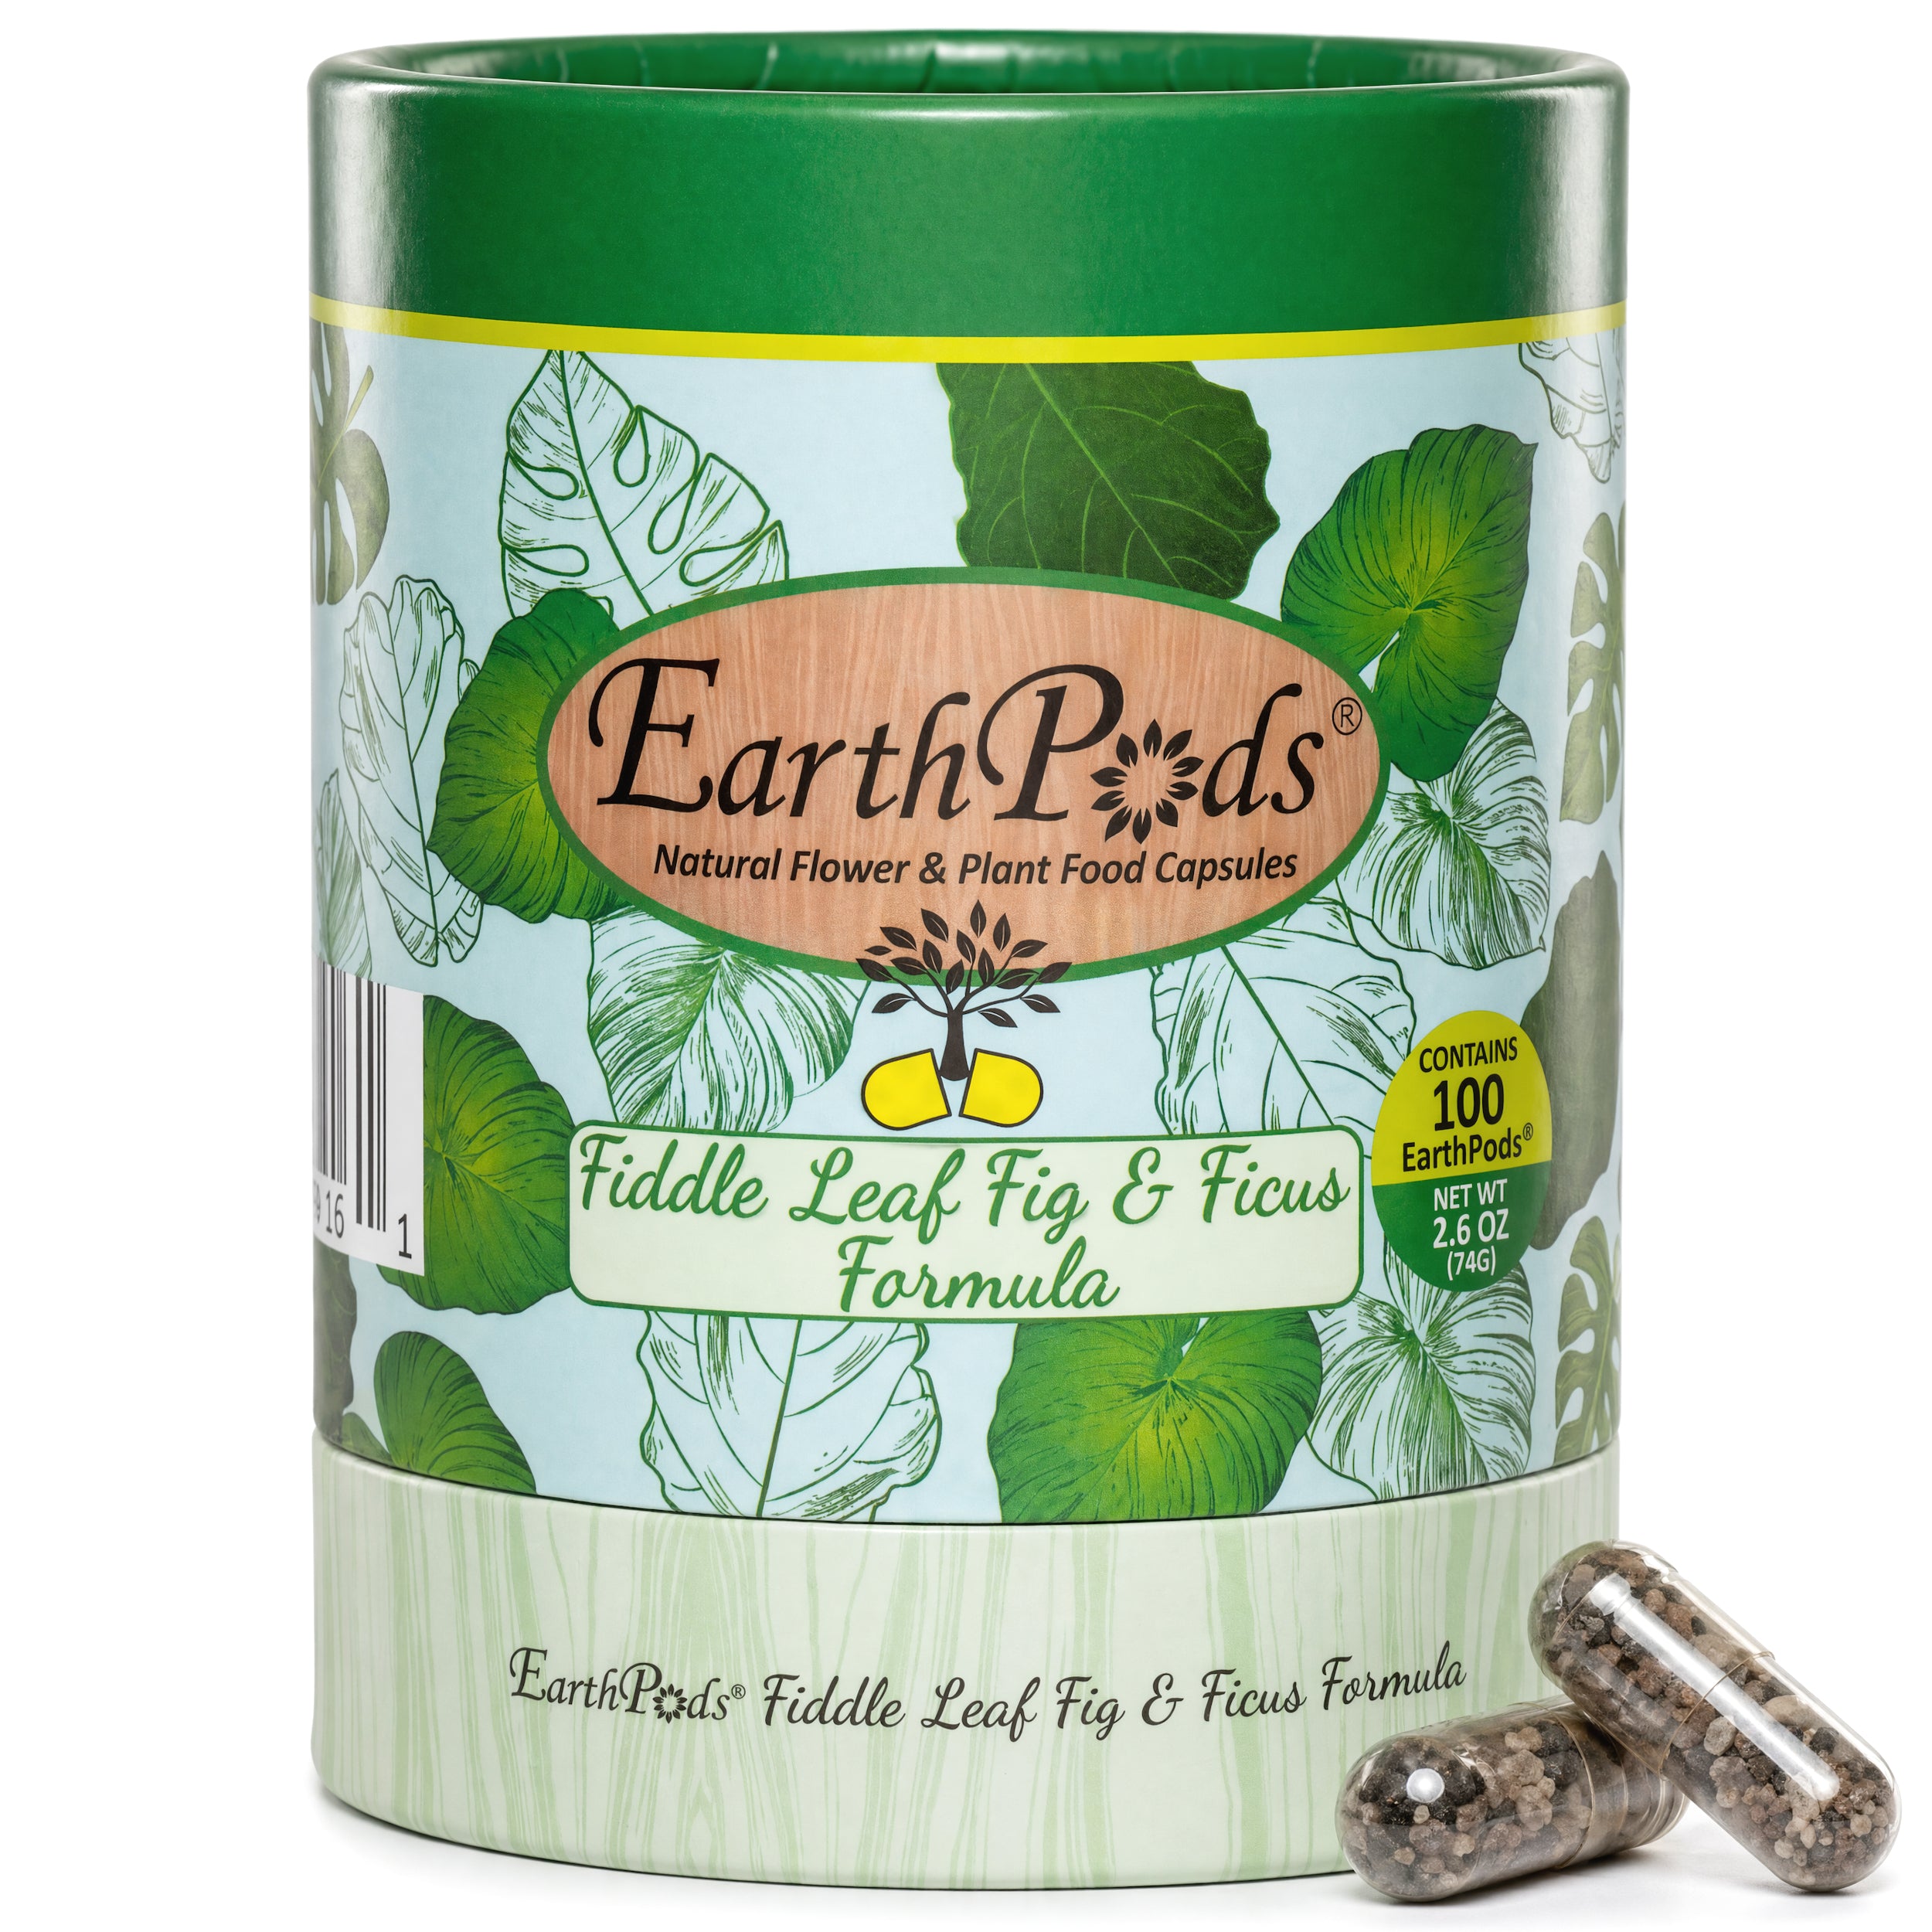
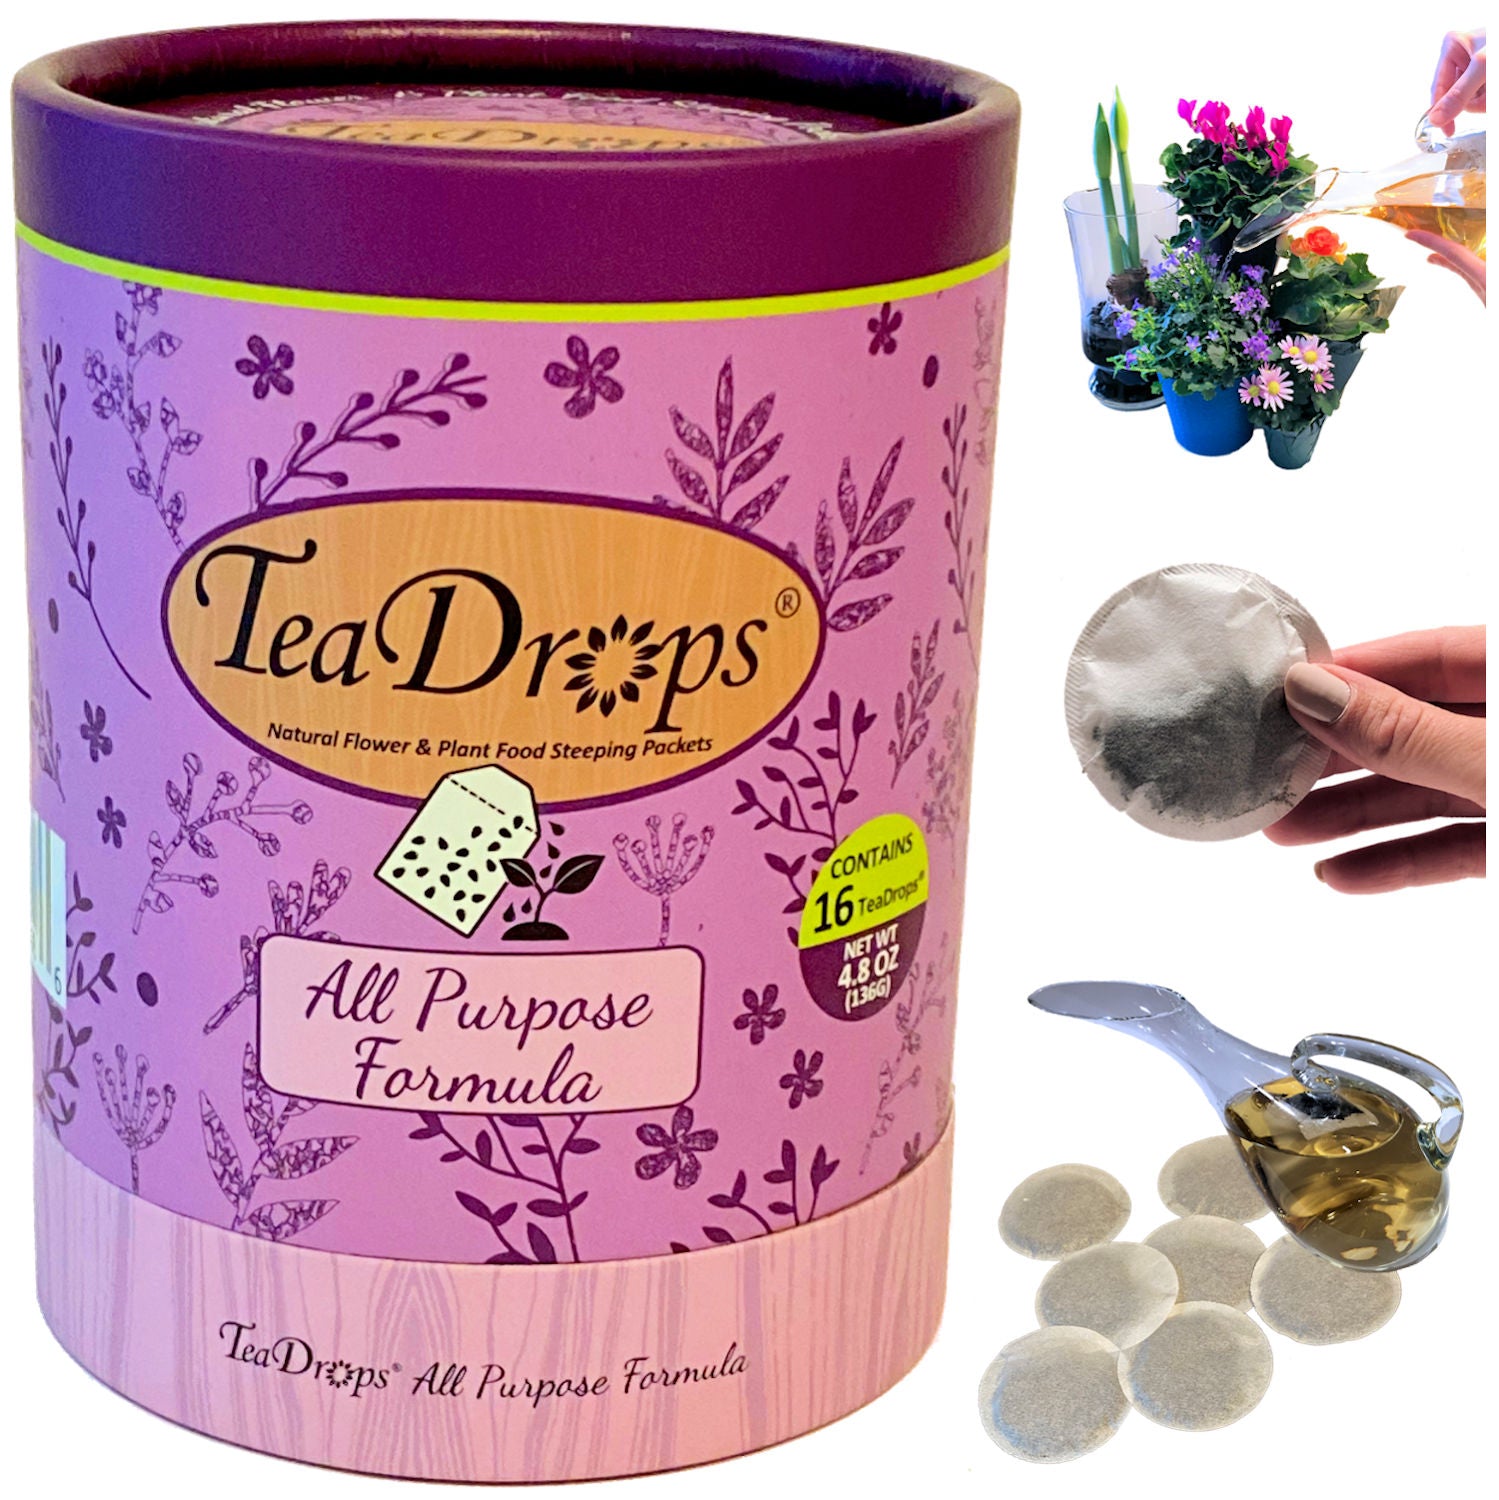
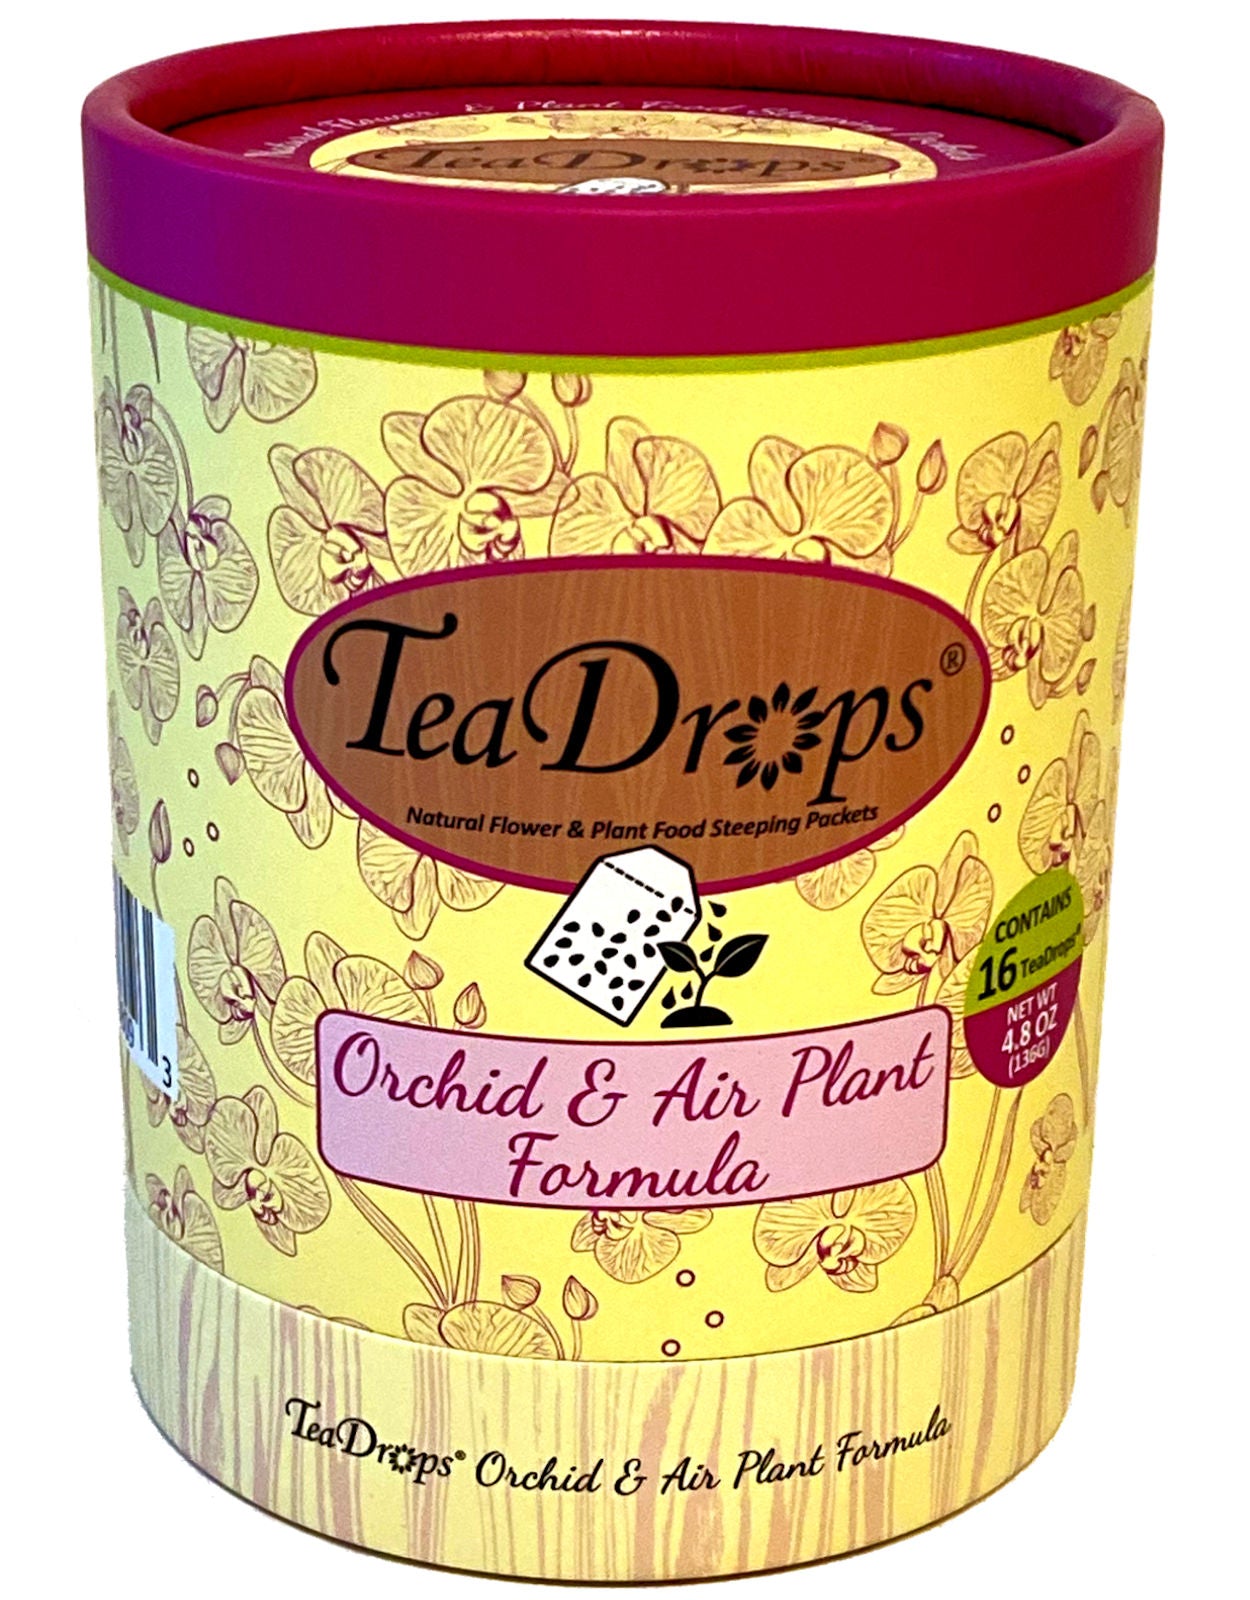
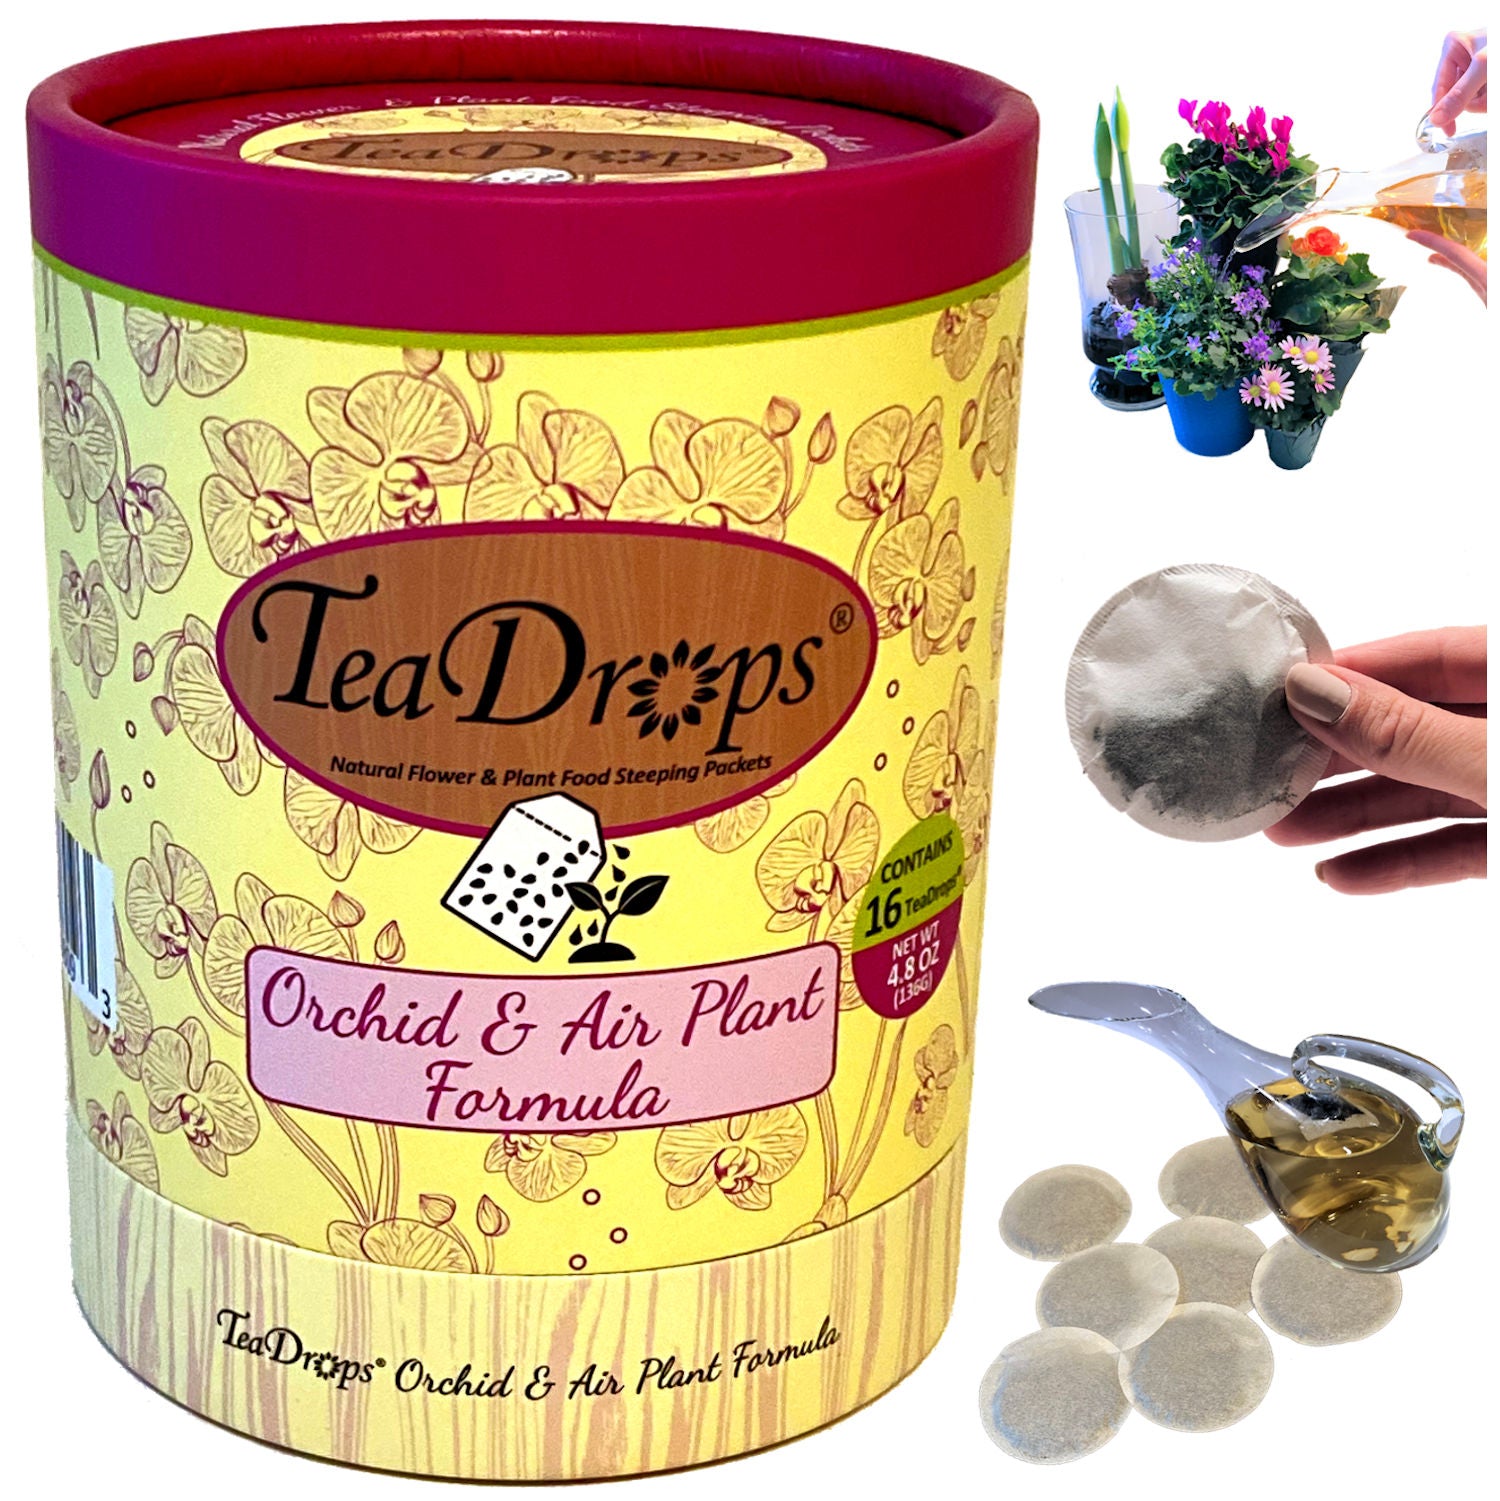
TeaDrops, on the other hand, are like making a cup of herbal tea for your plant. They’re little packets of concentrated organic nutrients – drop one into your watering can, let it steep, and water your plant with this light “compost tea”. It’s a gentle liquid feeding that prayer plants adore, especially if you prefer fertilizing while watering. Plus, both EarthPods and TeaDrops are 100% natural, slow-release, and pet-friendly, so you can fertilize with a clear eco-conscience. Many prayer plant parents find these options a game-changer for hassle-free feeding (and as the guy who helped dream them up, I may be biased, but I’ve also seen the results – my Maranta’s lush foliage is all the evidence I need!). You can check out the correct plant food formula Ficus EarthPods that also make the perfect Prayer Plant fertilizer.
Feeding Tips:
- Always fertilize on moist soil. If your prayer plant’s soil is very dry, water lightly first, then fertilize in the next watering. Feeding on dry roots can scorch them (even with organics, it’s just a good practice to avoid concentration spikes).
- Watch for signs. If new leaves are coming in smaller or paler green than older ones, it might be asking for more nutrients. If you haven’t fed it in months and it’s summer, time to break out the best organic fertilizer for indoor plants (otherwise known as an EarthPod capsule 😉). Conversely, if you see brown leaf tips and you’ve been feeding often, ease up – you might be overdoing it or there’s salt build-up.
- Flush the soil occasionally: Every few months, especially if using any chemical fertilizer, water the plant thoroughly until water flows out the bottom for a minute or so (do this over a sink or outdoors). This helps flush out any excess salts or residue. Think of it as a mini detox for the soil.
- No winter feasting: Reiterating this: reduce feeding in the winter months. Your prayer plant is basically chilling (literally) and not in growth mode, so feeding it is like offering a slice of cake to someone in a post-Thanksgiving dinner food coma – not necessary and possibly harmful.
- Maranta leuconeura 'Kerchoveana' – The classic prayer plant with striking green leaves adorned with creamy, intricate patterns.
- Maranta leuconeura 'Red' – Known as the Red Prayer Plant, this variety features deep burgundy undersides that create a vivid contrast with its green tops.
- Maranta leuconeura 'Bambino' – A compact variety ideal for small spaces, offering similar patterns to its larger cousins but in a more manageable size.
- Maranta leuconeura 'Erythroneura' – Recognized for its bold red and green markings, adding a dramatic flair to any room.
- Maranta leuconeura 'Leuconeura' – The standard species, featuring soft green leaves with subtle cream splashes that highlight its delicate nature.
- Maranta 'Portobello' – This variety stands out with its larger leaves and pronounced patterns, offering an almost painterly look.
- Maranta 'Dottie' – A fan favorite for its playful mix of hues and distinctive spots that create a whimsical appearance.
- Maranta 'Karolina' – With elegant, flowing leaf patterns and a touch of variegation, this variety adds a sophisticated touch to indoor spaces.
- Maranta 'Siam' – Boasting an exotic appeal, 'Siam' features uniquely patterned leaves that evoke a tropical aesthetic.
- Maranta 'Tricolor' – True to its name, this variety displays a blend of three colors in its foliage, making it a standout in any collection.
- Maranta 'Fascinata' – Known for its mesmerizing, intricate patterns, 'Fascinata' offers a captivating display of natural artistry.
- Maranta 'Zebrina' – This variety mimics a striped pattern reminiscent of a zebra’s coat, perfect for those seeking a bold, modern twist.
8. Pruning & Maintenance ✂️🌿
You might be wondering, “Do I really need to prune my prayer plant? It’s not exactly a hedge or a tree…” True, prayer plants won’t turn into Jack’s beanstalk overnight, but a little pruning and TLC can go a long way in keeping them bushy, tidy, and thriving. Plus, it’s an opportunity to shape the plant and remove any not-so-happy bits. Here’s how to give your Maranta a proper spa treatment:
Pruning for Bushiness:
- Prayer plants can sometimes grow long, trailing stems with fewer leaves at the ends, especially if they’re reaching for light.
- If you prefer a fuller, bushier plant, you’ll want to pinch or trim those leggy stems. Using a clean pair of scissors or pruning shears, cut just above a leaf node (the spot on the stem where leaves or roots can grow).
- Ideally, snip a stem back by about 1/3 if it’s very long. This will encourage the plant to branch out from that cut point, producing two or more new shoots and leaves over time instead of one long stem.
- In short, you’re telling the plant, “Hey, make some side branches!” I do this any time I see a stem getting unruly or sparse. The result: a nicer, compact shape.
- Don’t be afraid – pruning a prayer plant won’t hurt it. In fact, they respond pretty well, especially during the growing season.
Removing Dead or Damaged Leaves:
- Regularly check for any yellowing leaves or brown, crispy parts.
- It’s normal for the oldest leaves (usually near the base) to occasionally yellow and die off as the plant focuses on new growth.
- When a leaf has turned mostly yellow or brown, trim it off. Follow the leaf stem down to the base and snip it off cleanly.
- This not only makes the plant look nicer but also prevents potential pest or disease issues (bugs love decaying plant matter like it’s a free salad bar).
- Also remove any leaves with large dead patches or spots to allow the plant to redirect energy to healthy foliage.
Cleaning the Leaves: Prayer plant leaves are like gorgeous solar panels with all those patterns – they need to be dust-free to work efficiently (photosynthesize). Every few weeks, dust off the leaves gently. You can use a soft damp cloth and lightly wipe each leaf, supporting it with your other hand to avoid tearing. Alternatively, give the plant a lukewarm shower in the sink or bathtub: use a gentle spray to wash off dust (and any sneaky pests). Just make sure to let it drip dry and don’t leave water standing in the pot afterward. Clean leaves not only look shiny and beautiful, but they also breathe easier. Plus, while you’re cleaning, you can inspect for pests or issues early on.
Staking or Support (if needed): Most prayer plants stay fairly low and spreading, but occasionally a Maranta might grow a bit taller and flop over. If you have a variety that gets a bit unwieldy, you can use small stakes or hoops to support the stems. This isn’t usually necessary, but it’s an option if you want a very upright look. Another trick: let long stems trail from a hanging basket or shelf (instant boho décor) instead of staking – more on styling later.
Encouraging Colorful New Leaves: This isn’t exactly pruning, but a maintenance tip: the underside of some prayer plant leaves (especially the Red Maranta) have a beautiful purplish maroon color. If you want to see those undersides, you can occasionally gently fold a leaf during the day or put the plant slightly lower so you can enjoy the “peekaboo” purple from beneath. Also, new leaves often come out tightly furled and then open up – it’s a joy to watch! Ensure you keep up with proper light, water, and feeding so each new leaf comes out picture-perfect. If you see any that are a bit wonky, don’t worry – baby leaves can sometimes be smaller or lighter colored but they darken and grow as they mature.
After pruning, you might notice your prayer plant looking a tad sparse in the trimmed spots, but be patient. Within a few weeks, new growth will fill in, and you’ll have a lusher plant to show for it. Regular maintenance keeps your prayer plant not just surviving, but thriving and looking like the tropical showstopper it’s meant to be.
9. Repotting ⏳
Plants, like people, outgrow their homes sometimes. For prayer plants, a cramped pot can stunt growth and dry out too fast, while too big a pot can lead to that dreaded swamp situation. Knowing when and how to repot will keep your prayer plant happy and growing steadily. Let’s break down the repotting process so you don’t end up with a soil explosion in your kitchen (been there, done that).
When to Repot:
- Every 2 years, or when roots start coming out of the drainage holes.
- When the plant is root-bound (more roots than soil).
- When the soil breaks down or drains too quickly, or the plant’s growth has slowed despite good care.
How to Repot (Step-by-Step):
- Prepare the new pot: Choose a pot that’s about 1-2 inches larger in diameter than the current pot. It must have drainage holes (you know I won’t budge on this!). Have fresh potting mix ready (use the soil mix guidelines from the Soil & Potting section above). It helps to pre-moisten the new mix a bit – slightly damp, not soggy – so it’s easier for the plant to adjust.
- Remove the plant: Water your prayer plant a day or two before repotting (moist soil clings together and reduces root breakage). When ready, gently loosen the soil around the edges of the current pot. Tip the pot to the side or upside-down (support the plant with your other hand on the soil surface) and slide the plant out. You might need to tap the bottom or sides of the pot to dislodge it. Be gentle – prayer plant roots are not super delicate, but you still want to minimize damage.
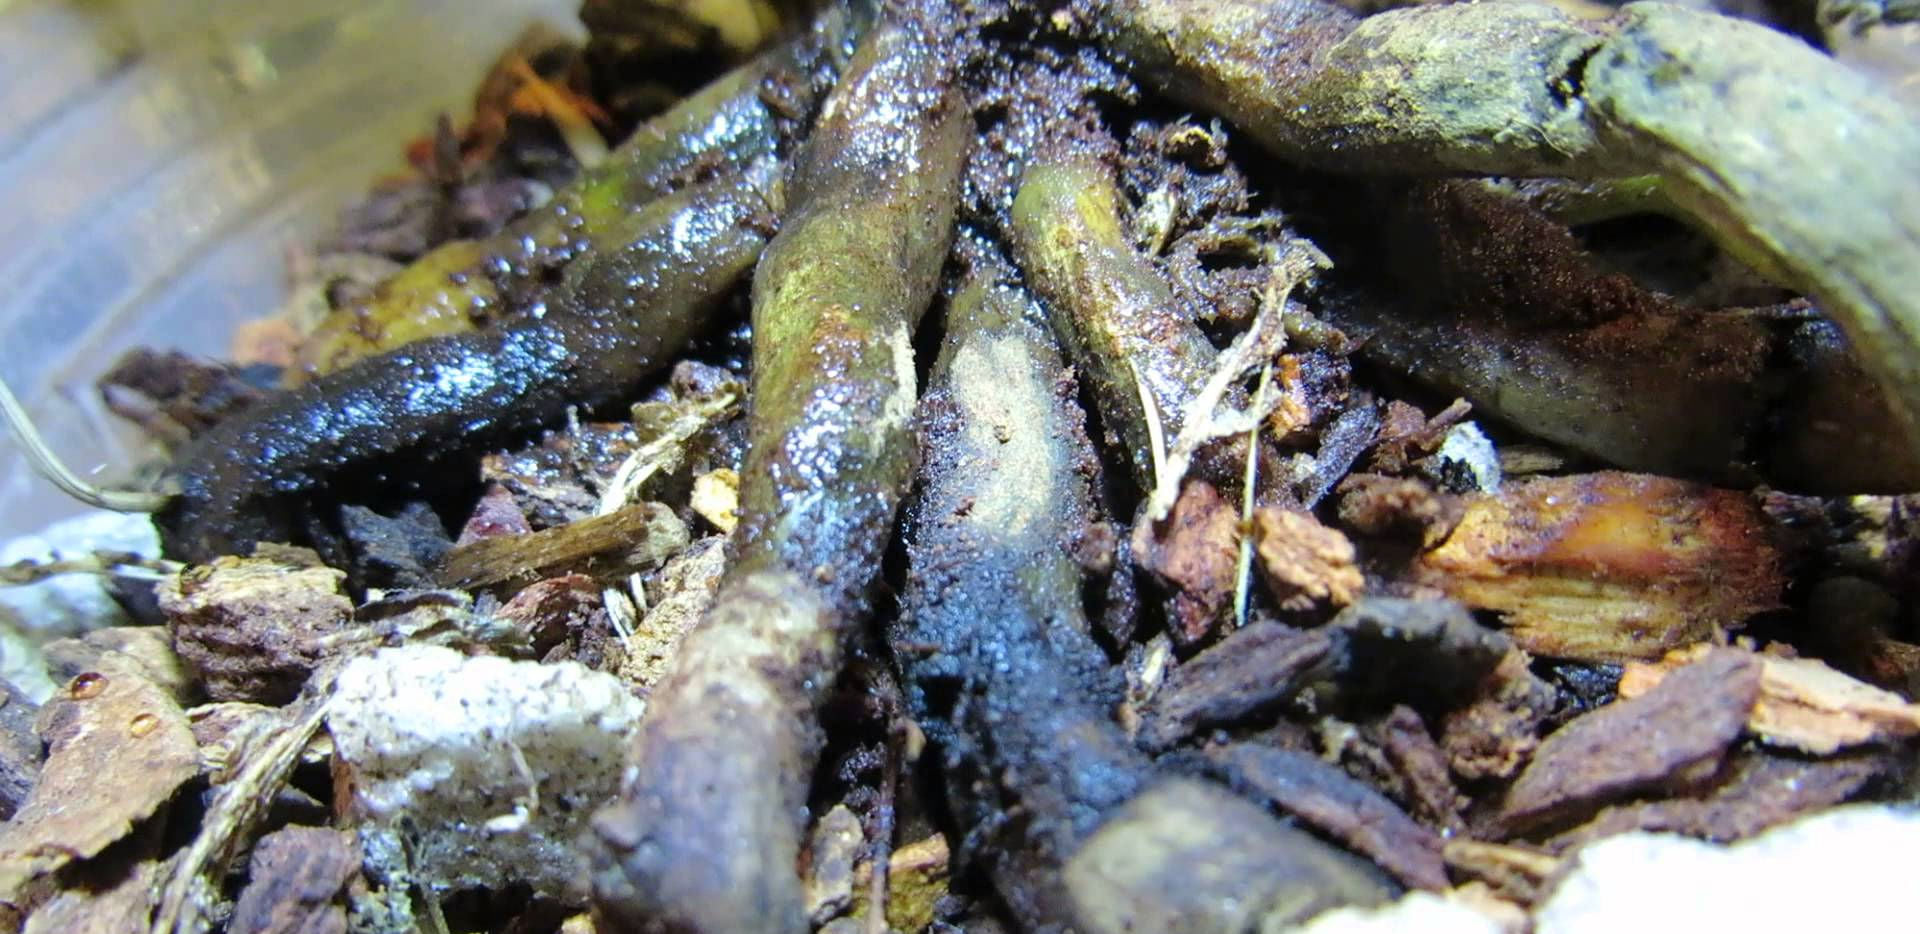
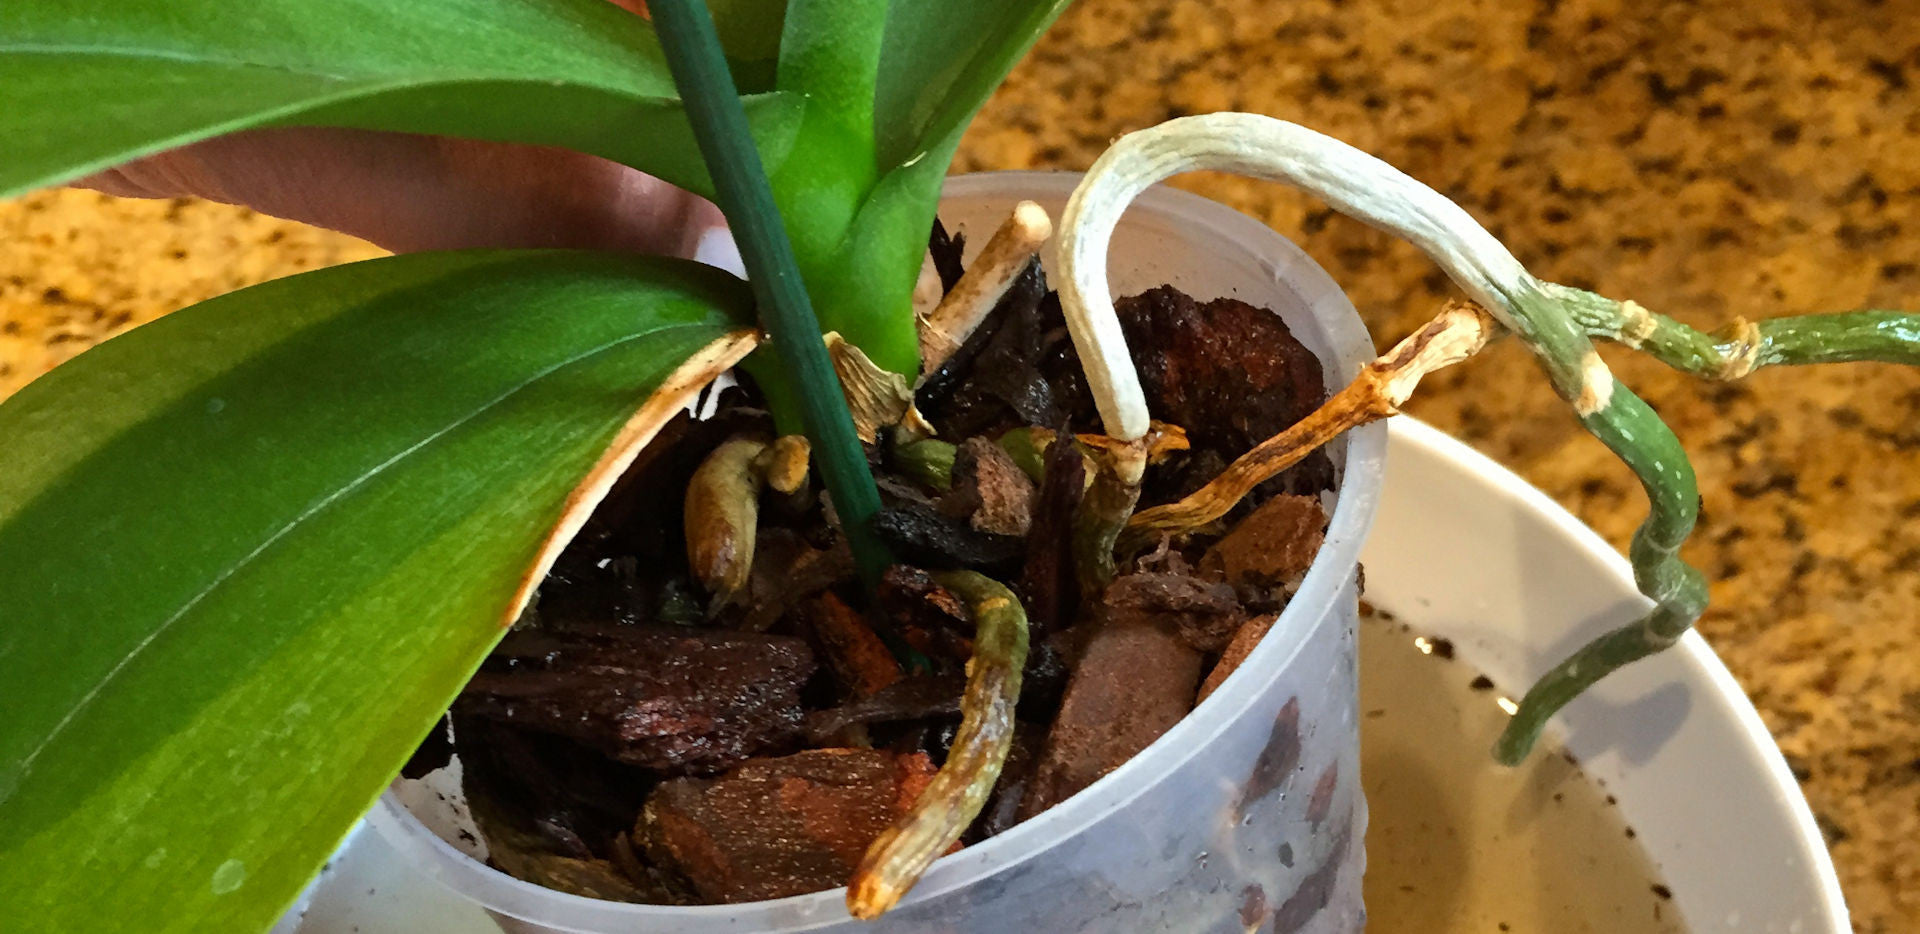
- Check and tease roots: Take a look at the root ball. If it’s a mass of roots, gently tease them apart especially if they’re circling around. You can even loosen and remove some of the old soil from around the roots. If you see any mushy, dark, or rotten roots (hopefully not, unless overwatering happened), trim those off with clean scissors. Healthy roots are whitish or light-colored and firm. This root check is like a check-up; everything looking good? Great.
- Place in new pot: Put a layer of fresh soil mix in the bottom of the new pot (enough so that when the plant sits in, the top of its root ball will be about an inch below the pot rim). Set your prayer plant in the new pot, centered. Make sure it’s at roughly the same depth it was before (don’t bury the stems too deep). Hold the plant upright and add fresh potting mix around the sides, filling the gaps. Use your fingers or a chopstick to poke soil into any voids around the roots. Fill until just below the rim. Pat the soil down lightly to eliminate air pockets – don’t pack it too tight; roots like some wiggle room to breathe.
- Water in: Give the plant a good drink after repotting. Water thoroughly until it comes out the bottom. This helps to settle the soil around the roots. If the soil level sinks a bit after watering, add a touch more mix on top. (Pro tip: that first watering, do it slowly. Sometimes new soil is super airy and water will rush through – by watering slowly, gradually, you ensure it actually absorbs.)
- Post-potting care: After repotting, your prayer plant might look a bit droopy or pouty for a few days. Totally normal! It’s in shock from moving homes. Keep it in a cozy spot with bright, indirect light (no extreme sun or draft) and maintain good humidity. Within a week or two, it should perk up and start growing new roots into the fresh soil. Hold off on fertilizing for about a month after repotting – the fresh soil often has nutrients, and you don’t want to burn the recovering roots.
10. Propagation 🌱💕
What’s better than one prayer plant? More prayer plants! If you’re as obsessed as I am, you’ll be delighted to know that Marantas are quite willing to multiply with a little help. Propagation lets you create new baby prayer plants to expand your indoor jungle or share with friends (hello, inexpensive gift that actually grows). We’ll cover two main methods: stem cuttings and division. Both are straightforward – I’ll walk you through step-by-step so you can propagate with confidence, not panic. Let’s make some prayer plant babies!
Propagating Prayer Plant from Stem Cuttings
This method is like cloning your plant – you take a piece of the mother plant and encourage it to grow its own roots. Prayer plants have nodes on their stems that can sprout roots, making cuttings quite successful. Here’s how to do it:
When to propagate by cuttings: Spring or early summer is ideal, when the plant is growing vigorously. Avoid taking cuttings from a struggling or dormant plant.
- Select a healthy stem: Choose a stem that has at least one or two leaves and one visible node. A node is the slightly thicker bump on the stem where leaves and roots can grow. (On prayer plants, nodes are usually where a leaf joins the stem – you might even see tiny root nubs if it’s been trailing on soil.) Ensure the stem is healthy, not yellowing or damaged.
- Make the cut: Using clean, sharp scissors or pruning shears, cut the stem just below a node. You want about 3-4 inches of stem ideally. The cutting should have a node and a couple of leaves. If the stem has more than 2-3 leaves, consider trimming off an extra leaf or two – fewer leaves means the cutting can focus energy on root growth rather than supporting a bunch of foliage.
- Prep the cutting: Remove the bottom set of leaves if any will be submerged in water or buried in soil (you don’t want leaves under the water/soil line as they’ll rot). You can dip the cut end in rooting hormone powder or gel if you have it – this can speed up root development, but it’s not strictly necessary. I’ve had prayer plant cuttings root just fine without hormone.
- Place in water (or soil): The most common method is rooting in water because you can see the progress. Fill a clean jar or glass with water (again, ideally filtered or at least room-temp dechlorinated water). Place the cutting in so that the cut end and node are under water, but leaves are above water. Make sure no leaves are submerged. Put the jar in a warm spot with bright indirect light. Alternatively, you can plant the cutting directly in a small pot of moist potting mix (same type of soil the mother plant likes). If you do soil, it helps to cover the pot with a clear plastic bag to create a mini greenhouse – this keeps humidity high around the cutting.
- Wait and watch: If in water, refresh the water every week to keep it oxygenated and clear. In a couple of weeks, you should see roots emerging from the node. This is the exciting part! Prayer plant cuttings often show roots in around 2-4 weeks. Be patient; if the water stays clear and the cutting looks healthy (leaves still mostly perky and green), it’s working behind the scenes. If in soil, check for roots by gently tugging after about 4 weeks – resistance means roots have formed. Keep soil cuttings humid and just damp (not soaked) during this period.
- Pot it up: Once the roots on your water cutting are about 1-2 inches long, it’s time to plant it in soil. Prepare a small pot with fresh potting mix (same mix we’ve discussed, moist but not soggy). Make a hole, insert the rooted cutting, and gently firm the soil around it. Water lightly to settle it. For soil-propagated ones that are already in a pot, just remove the plastic cover (if used) after you see new growth – that means it has rooted. Treat it now like a normal juvenile prayer plant.
- Aftercare: Keep the new plant in a warm, humid spot with gentle indirect light as it establishes. Young roots are tender, so keep soil slightly moist (don’t let it completely dry, but also avoid waterlogging – sensing a theme?). Gradually, you’ll see new leaves emerge, indicating the propagation is a success! It’s okay to do a little happy dance at this point – you just grew a new plant from a cutting, go you! 🕺🌿
Propagating by Division
- Remove the plant: Gently take the plant out of its pot and brush off excess soil.
- Separate the clumps: Look at the root ball and stems. Often you can see natural separations, like two or more clumps of stems that are only loosely connected by roots. Sometimes a plant will have grown pups or offshoots that have their own root systems attached. Decide how many divisions you want – commonly, people split one plant into two. Make sure each piece will have at least a few stems/leaves and a decent root mass of its own.
- Separate the roots: Gently tease apart the root ball, separating the clumps. You might need to untangle roots or even cut a few that connect the sections. Use your fingers to pull sections apart slowly. If it’s very root-bound, you can use a clean knife to slice the root ball into sections, but try to preserve as many roots for each part as possible. Don’t worry if some roots break – plants are tougher than they look, and they’ll regrow roots. The goal is to end up with two (or more) smaller plants, each with roots and shoots.
- Pot up the divisions: Prepare pots (with drainage holes, of course) for each new plant. Use appropriate sized pots – likely the same size or slightly smaller than the original for each division, since you’ve essentially halved the plant. Fill with fresh potting mix partway, place the division in, and fill around with soil. Plant them at the same depth they were originally. Firm the soil gently and water each new plant well to settle the soil and hydrate the roots.
- Aftercare: Treat the new divisions like repotted plants: keep them warm, humid, and in indirect light. They might droop a bit after the trauma of separation, but within a couple of weeks they should recover and start growing independently. Don’t fertilize right away – let them adjust for a month or so. Keep soil lightly moist but not waterlogged as the somewhat reduced root systems catch up.
- New Species Discoveries: Recent studies in South America have uncovered new Maranta species, including dwarf varieties identified in 2020 and 2024.
- Botanical Name Shuffle: DNA analyses from 2012–2020 have led to a reclassification of many “Calathea” species into the genus Goeppertia, clarifying differences in leaf behavior.
- Unique Chemical Cocktails: New insights reveal that each prayer plant species has its own mix of chemicals controlling nyctinasty, highlighting nature’s complexity.
- Fighting Indoor Pollution: A 2024 study found that Maranta leuconeura can reduce indoor CO₂ levels, suggesting these plants help improve air quality.
- Bio-Inspired Engineering: In 2020, engineers developed a soft robot mimicking nyctinasty using moisture-driven mechanics—an innovation that could inspire energy-free sun-tracking materials.
11. Troubleshooting Common Prayer Plant Problems 🩺🚑
Every plant parent faces a few hiccups now and then. Here’s a quick troubleshooting chart to help you diagnose what’s wrong and learn how to remedy it. Consider this your prayer plant first-aid guide:
| Symptom 📋 | Likely Cause 🤔 | Solution (Fix) 🛠️ |
|---|---|---|
| Yellowing leaves (especially lower ones) | Overwatering leading to root rot; soil staying too wet | Check soil & roots: If soil is constantly wet, let it dry out a bit more between waterings. Ensure drainage is good. Trim off any truly rotten, mushy roots and repot if root rot is severe. Adjust watering schedule to prevent future waterlogging. |
| Leaves curling inward (sometimes with brown tips) | Underwatering or low humidity; the plant is conserving moisture | Water and humidify: Give your plant a thorough drink if the soil is dry. Increase humidity (mist the plant, use a humidifier or pebble tray). Going forward, water a bit more frequently to keep soil evenly moist. In dry environments, aim for higher humidity. |
| Brown, crispy leaf edges or tips | Low humidity OR salt build-up from hard water/fertilizer | Boost humidity & water quality: Increase room humidity around the plant (humidifier, grouping plants, etc.). Use filtered or distilled water to avoid mineral build-up. Flush the soil with clean water to leach out excess salts occasionally. Trim off the worst of the brown tips (purely cosmetic). |
| Faded or bleached patches; scorched spots on leaves | Too much direct sunlight hitting the leaves, causing sunburn | Relocate to indirect light: Move the plant further from the window or use a sheer curtain to diffuse sunlight. Only provide bright indirect light. The damaged leaves won’t regain color, but new growth will be fine. You can prune away badly scorched leaves. |
| Leaves drooping (wilting, limp plant) | Could be thirsty (underwatered) OR overwatered with root issues. Check the soil to tell: dry soil = thirst; soggy soil = possible root rot. | If dry: Water immediately and thoroughly – the plant should perk up within a day. If soggy: Roots may be waterlogged or rotting – gently unpot and inspect roots. Trim off rotten parts, let excess moisture dry out, then repot in fresh, well-draining soil. Adjust watering going forward to prevent recurrence. |
| Little to no new growth; pale new leaves | Likely nutrient deficiency – the plant is under-fertilized or soil is depleted of nutrients | Feed it: Start a light feeding regimen during the growing season. Use a balanced houseplant fertilizer at half strength, or better yet, an organic boost (EarthPods® or TeaDrops®) for gentle, slow-release feeding. New growth should come in greener and more vigorous in a few weeks. |
| Pests visible (e.g., tiny webs, speckled leaves, sticky residue, or little critters on leaves) | Common culprits: Spider mites, mealybugs, aphids, or fungus gnats | Treat & isolate: First, isolate the affected plant to prevent spread. For spider mites or aphids – rinse the leaves under a shower to knock off as many as possible, then treat leaves (top and underside) with insecticidal soap or neem oil. Repeat weekly until gone. Increase humidity to deter spider mites. For mealybugs – dab each with alcohol on a cotton swab and wipe off, then use neem/insecticidal soap as preventive. For fungus gnats – let soil dry more between waterings, use sticky traps to catch adults, and possibly treat soil with mosquito bits (BTi) to kill larvae. Good housekeeping: wipe leaves and check plant regularly to catch pests early. |
| Leaves not “praying” at night (staying flat) | Too much continuous light (no dark period), or plant is stressed/weak from suboptimal conditions. Sometimes older leaves move less. | Ensure a dark period: Move plant to where it gets some darkness at night, or turn off grow lights for at least 12 hours at night. Also evaluate overall care – a stressed plant (from improper water, light, etc.) might not have the energy to move. Improve conditions and give it time. Some days the plant might just be chill – as long as leaves look healthy, it’s okay. |
12. Prayer Plant Care People Also Ask FAQ 🤔❓
Q: Why is my prayer plant not praying (not folding its leaves at night)?
A: Prayer plants stop folding their leaves at night due to too much light, stress, or improper care. They need darkness for their natural circadian rhythm. To fix this, reduce artificial lighting at night, ensure proper watering, and maintain high humidity.
Q: How do I make my prayer plant fuller or bushier?
A: To make a prayer plant bushier, follow these steps:
- Prune leggy stems: Cut just above a leaf node to encourage branching.
- Provide indirect light: Avoid direct sun, which causes stretching.
- Water consistently: Keep soil moist but not soggy.
- Boost humidity: Maintain 50%+ humidity to prevent leaf curl.
Q: Should I mist my prayer plant?
A: Yes, misting a prayer plant increases humidity and cleans its leaves. Mist in the morning so the leaves dry by evening, reducing the risk of fungal infections. However, for long-term humidity, use a humidifier, pebble tray, or plant grouping.
Q: Are prayer plants hard to care for?
A: Prayer plants require consistent moisture, high humidity, and indirect light, making them slightly finicky. However, with regular watering, proper humidity, and nutrient-rich soil, they are easy to maintain indoors.
Q: Are prayer plants safe for pets?
A: Yes, prayer plants are non-toxic to cats and dogs, making them a pet-friendly houseplant. However, while safe to nibble on, it’s best to keep them out of reach to avoid leaf damage.
Q: Do prayer plants flower?
A: Yes, prayer plants can produce small white or purple tubular flowers, but they rarely bloom indoors. They are primarily grown for their ornate foliage rather than their flowers.
- The “Spa Water” Trick: Use rainwater, filtered, or distilled water to avoid chemicals that can damage your plant’s sensitive roots.
- Wide, Shallow Pots: Prayer plants prefer pots that allow their shallow roots to breathe and dry out evenly.
- Mimic Day/Night Cycles: Ensure your plant gets a proper dark period at night—set timers for grow lights or place it away from constant artificial lighting.
- Humidity on a Budget: Create a DIY humid micro-climate with a pebble tray or by grouping plants together.
- LECA & Semi-Hydroponics: Consider using clay pebbles (LECA) for superb aeration and moisture control, reducing the risk of overwatering and soil compaction.
13. Home Décor & Styling Ideas 💡🏡
Prayer plants aren’t just plant-care projects; they’re living art pieces that can really elevate your home décor. With their striking patterns and that interactive “praying” movement, they deserve a special display. Here are some fun and creative ideas to style your prayer plant in your home:
- Hanging Planter Magic: Place your prayer plant in a hanging macramé planter or basket. As it grows, some varieties will gently trail or spill over the edges, creating a beautiful cascade of foliage. Hanging it near a window (remember, indirect light) at eye level can make it a focal point – plus you get a cool view of the purple undersides of the leaves from below! (Imagine a lush prayer plant suspended in a boho-chic macramé hanger, its leaves catching the morning light – gorgeous.) Just ensure it’s not in harsh sun. A hanging prayer plant is unexpected, since most people display them on tables, so it’s a unique twist.
- Terrarium or Cloche: Prayer plants love humidity, which makes them great candidates for a large terrarium or under a glass cloche. If you have a roomy glass vessel or a wardian case, plant a small prayer plant inside with some moss and decorative stones. It becomes a self-humidifying display. A closed terrarium keeps moisture high and looks like a little rainforest scene on your coffee table. Even an open-top glass bowl can serve as a humid home – line the bottom with pebbles and charcoal for drainage, add soil and plant, then cover most of the top with glass leaving a gap. This is a statement piece that also caters to the plant’s needs. Talk about form meets function!
- Bookshelf Buddy: Tuck your prayer plant on a bookshelf or mantle where it can intermingle with décor items. For example, place it beside a stack of books or a sculpture. Its vibrant leaves add a pop of color and life to an otherwise static shelf. Since prayer plants stay relatively compact (usually under 12 inches tall for many varieties), they’re perfect for shelving. Use a stylish pot that complements your room – perhaps a solid white or neutral pot to let the leaf pattern shine, or a color that picks up one of the hues in the leaves (deep green or maroon). I’ve got a prayer plant on a floating shelf alongside some trailing pothos; the combination of heights and textures really draws the eye.
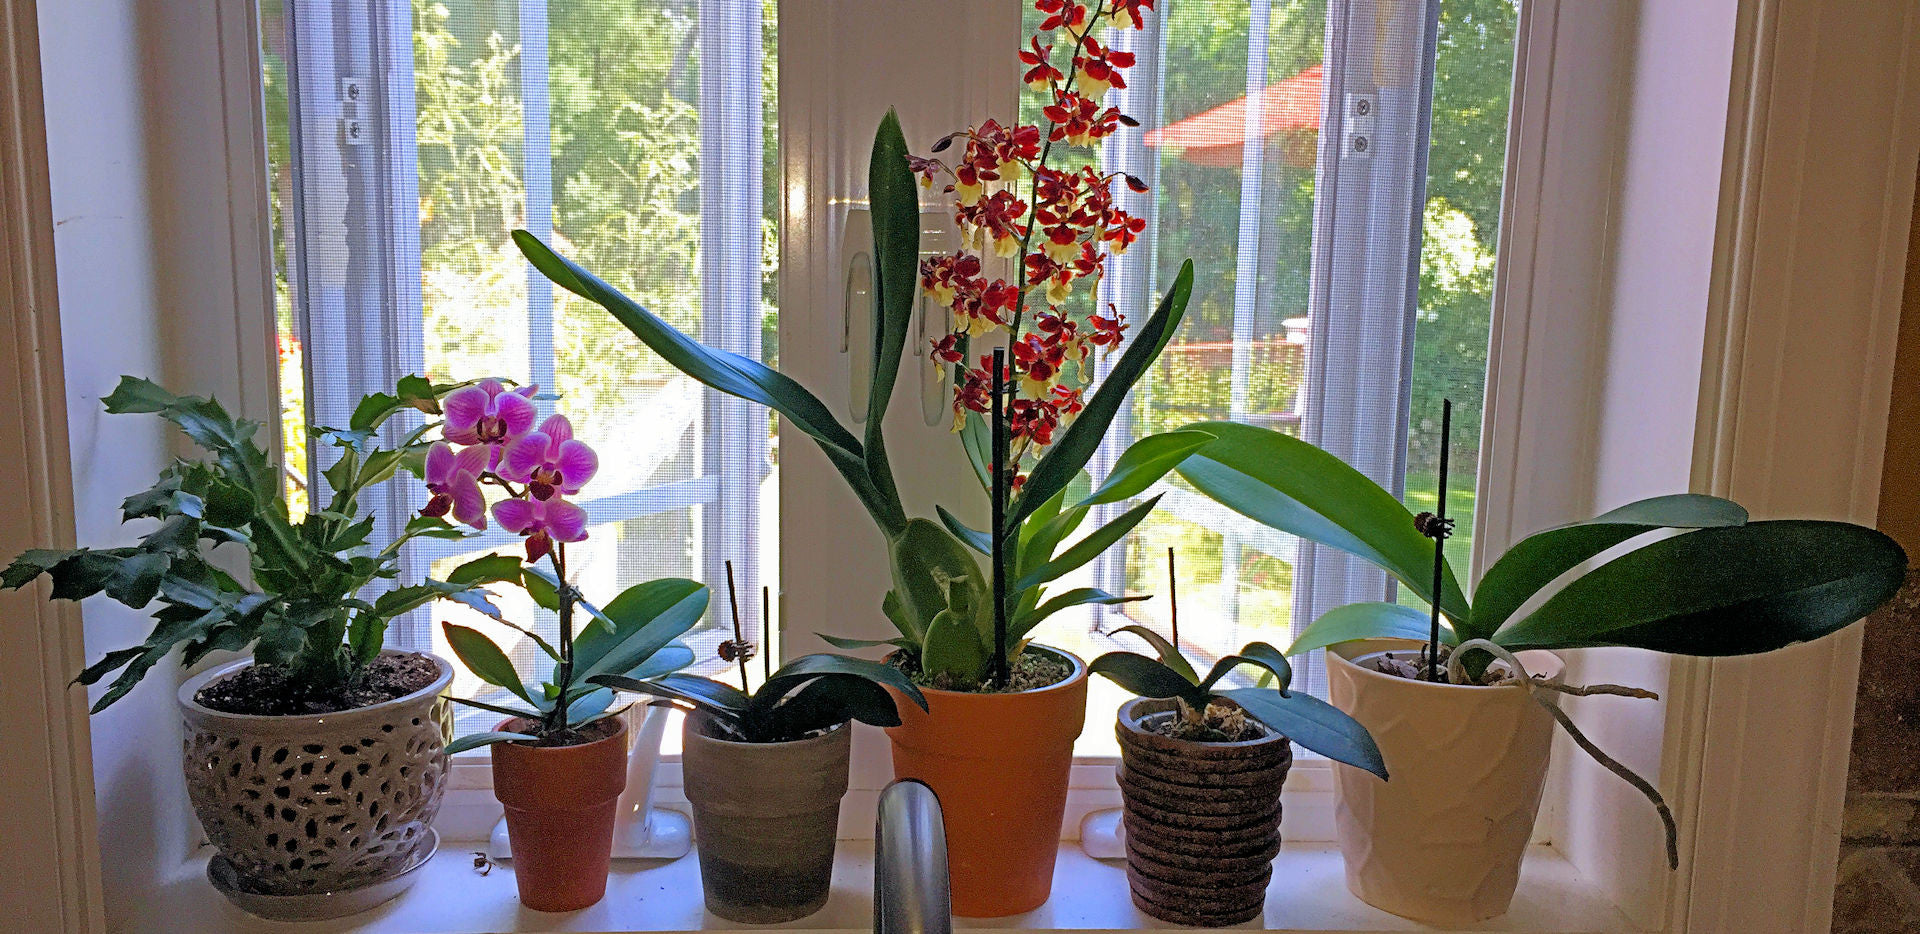
- Grouping with Other Plants: Create a tropical vignette by grouping your prayer plant with other humidity-loving, shade-tolerant plants. For instance, pair it with a fern, a calathea, and maybe a small peace lily. Vary the heights using plant stands or decorative pot risers. The prayer plant can be the star with its bold variegation, while the others provide green backdrops. Grouping not only looks lush and intentional (hello, indoor jungle), but it also helps all plants by creating a pocket of higher humidity (strength in numbers!).
- Statement Pot or Planter: Because prayer plants are relatively low-growing, you can get creative with planters. Consider a wide, shallow bowl planter – the plant will spread out and cover the surface with foliage, almost like a living centerpiece. Decorative ceramic pots with patterns can also play off the leaf patterns – e.g., a pot with geometric black and white design might accentuate the artistic vibe. For a modern look, use a simple concrete or white pot. For a whimsical look, maybe a pot with a face so the prayer plant becomes the “hair” (truly a conversation piece when the leaves stand up at night like a spiky hairdo!). Just ensure the pot has drainage or use a cachepot (decorative outer pot) with a drainage nursery pot inside.
- On a Pedestal: Elevate (literally) your prayer plant on a plant pedestal or stand. This works well for showcasing the plant as an art object. For example, a mid-century style wooden plant stand or a carved stool can serve as a stage. Placing the plant a couple of feet off the ground also brings it closer to eye level where you can appreciate the details. Imagine a prayer plant on a pedestal in a dull corner – it suddenly becomes a curated display. Add a small spotlight or place it near a floor lamp (not too close to burn it) to highlight the foliage in the evenings, casting lovely leaf shadows on the wall.
- Bathrooms and Kitchens: Leverage the naturally higher humidity of bathrooms by placing a prayer plant on a bathroom shelf or counter (if you have a window in there for light). It adds a spa-like zen vibe to your bathroom. I’ve seen beautiful arrangements of a prayer plant on a tray with candles and bath salts – functional and decorative. In the kitchen, a prayer plant can sit on a windowsill or a plant shelf, bringing softness and color to the utilitarian space. Just keep it away from direct heat or splashes from the sink.
- Seasonal Décor Accent: Use your prayer plant as living decor through the seasons. For example, in fall, surround it with a few mini pumpkins or pine cones on the soil for an autumn display (those leaves already have a bit of fall flair with red and orange varieties). During the holidays, a tiny strand of battery-operated fairy lights in the pot or a few ornaments on picks can turn it into a festive piece (just be gentle and don’t damage the leaves). Because prayer plant leaves move, the twinkle lights might even gently sway – very enchanting. Seasonal decorating with houseplants is an often overlooked idea that can really make your decor cohesive and lively.
- Kokedama or Moss Ball: Here’s a truly unique idea – create a kokedama (a Japanese style moss ball planter) with a prayer plant. This involves taking the root ball, packing soil into a ball, wrapping it in moss, and tying with string. The result is a living moss ball that you can hang or place on a dish. A prayer plant kokedama hanging in a window is bound to get wows from guests. It’s a bit more advanced craft, but if you’re up for some DIY fun, it’s worth a try for a one-of-a-kind display.
14. Conclusion & Final Thoughts 🎉
From accidental sunburns to impromptu late-night rescues, my journey with prayer plants has been a wild (and entertaining) ride. But let me tell you, every trial and error was worth it. Prayer plants are downright rewarding – few houseplants offer the combo of stunning looks, interactive behavior, and forgiving nature quite like these “praying” beauties. Plus, caring for them can actually be fun (who knew I’d ever chuckle while watering a plant, remembering the time it prayed for me to stop singing off-key… I swear it folded faster that night).
To sum it up: keep your prayer plant warm, moist, humid, and fed, give it some love and light (but not too much), and it will thrive. You now have all the tips, tricks, and secret sauces (EarthPods anyone?) to make you a confident prayer plant parent. Embrace the process – even the oopsies – and watch your plant flourish.
Finally, let’s make this a conversation: I’d love to hear your own prayer plant stories! Did your plant ever do something funny or dramatic? Have you named it? Share your funniest prayer plant mishap or proudest plant moment in the comments below! Let’s swap tales – after all, we’re all continually learning and laughing in this grand adventure of plant parenthood.
Thanks for hanging out with me on this plant care journey. May your prayer plant bring you as much joy (and occasional comic relief) as mine has to me. And as you grow your indoor jungle, don’t stop here – keep exploring and expanding your green family. If you’re hungry for more plant wisdom, be sure to check out the rest of my in-depth houseplant guides.
Happy planting, and may all your plant prayers be answered! 🙌🌿
— Steven, your friendly neighborhood plant whisperer
15. Read These Articles Next 🔥
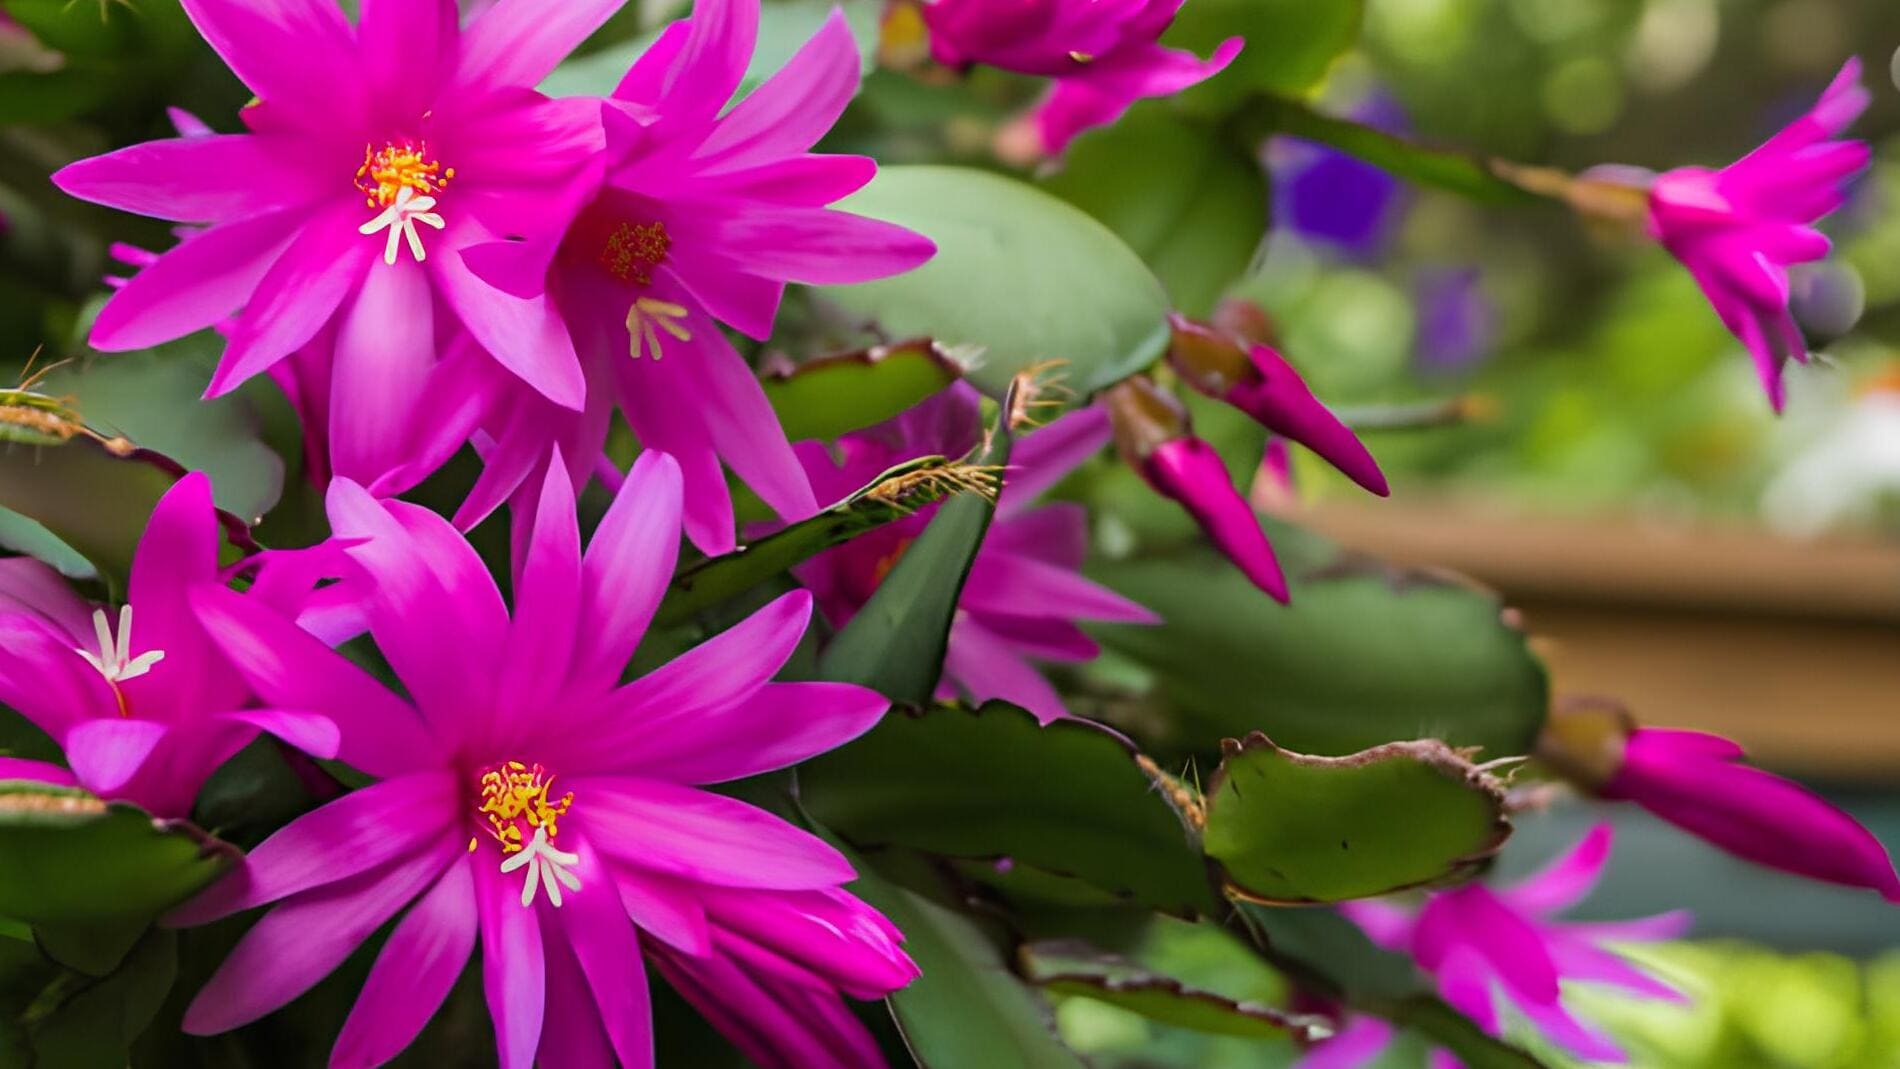
- Christmas Cactus Care Guide
- Organic Houseplant Fertilizer Guide
- Orchid Care Guide
- How to Repot Orchids (Step-by-Step)
- Organic Gardening Tips for Beginners
16. Join My Organic Garden Community
Want exclusive discounts, plant tips & comic relief from a fellow plant hoarder? Drop your info below!
No spam, no synthetic fertilizers—just organic plant wisdom.


We Want to Hear from You! 🤔💬
What’s your funniest prayer plant moment? Have you ever rescued a plant from a near-disaster? Drop your stories in the comments below. Your insights might help another plant parent save their green friend!


Share:
Organic Fertilizer for Houseplants: A Fun Expert Guide